How to add a Project
All users are able to add Projects to Capsule and there are several different ways of doing this.
- Using the Add new button found in the top menu bar
- From the Project List page you’ll find a dedicated button to Add Project
- Using the Actions menu on a contact you’ll find the option to Add a Project for that specific contact.
- Using the Mail Drop Box to automatically create a Project when sending/forwarding an email.
- From the Project Board using the button to add a brand new Project directly into the relevant Board and Stage.
- From an existing Opportunity using the option to Add a linked Project.
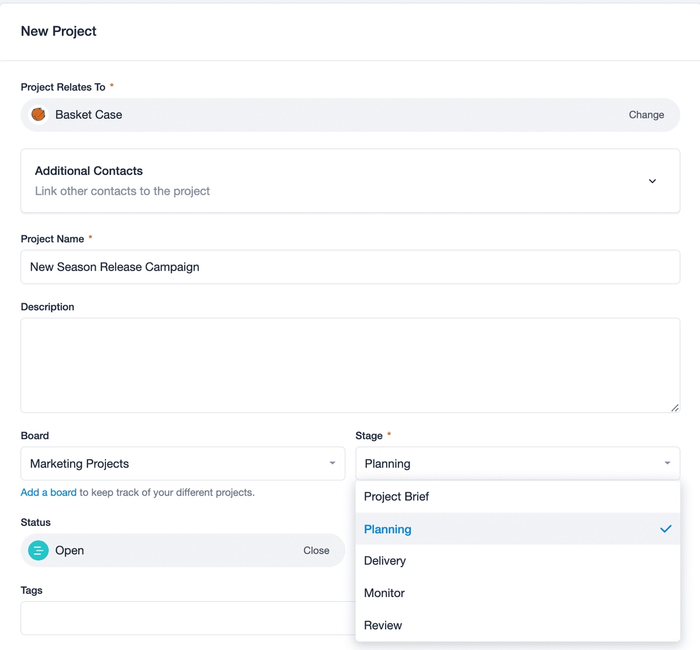
What fields are required
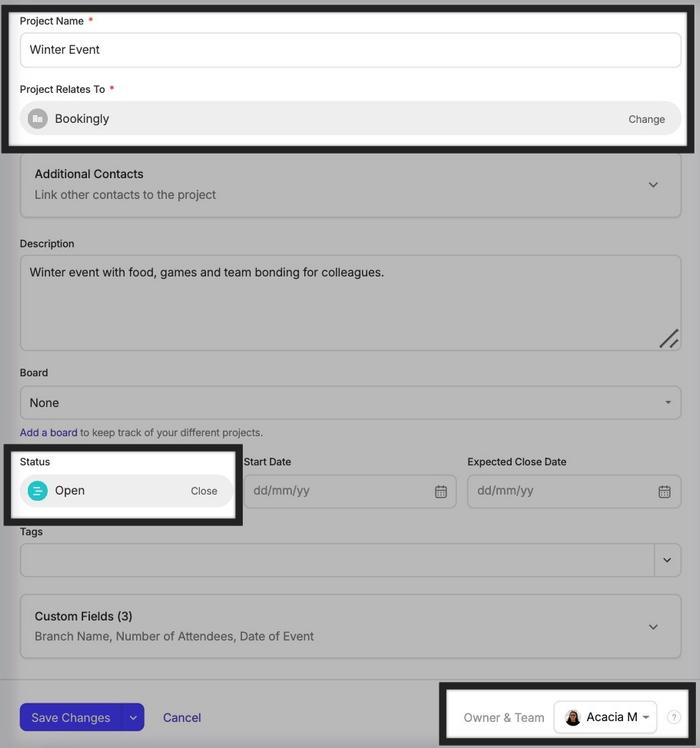
- Name of the Project. This generally represents the Project that is taking place. In the example below, the Project is to organize a seasonal internal event, and is therefore called "Winter Event".
- A main contact. The Project always needs to be linked to a Contact. This is the Person or Organisation the Project relates to.
- Status. This is whether the Project is Open or Closed. By default, Capsule will select Open.
- Owner. This is the person in charge of the Project. By default all Tasks and Tracks created on the Project will be assigned to the Project owner, although if needed the tasks can be reassigned to other users. Learn more about a Project owner in this article.
What other details can I add?
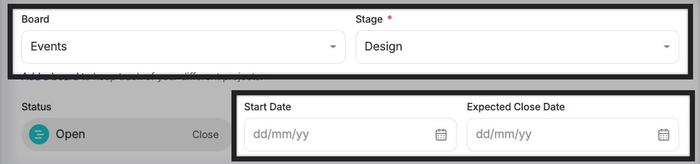
- A Board. On the Growth, Advanced and Ultimate plans, you can have multiple boards, to manage multiple project flows at the same time.
- A Stage. The Stage represents where in your process that the Project is at. Stages are defined by a Capsule admin from your Account Settings. If you select a Board, the Stage becomes a required field.
- Start Date. This is the date that work on the Project will start. It's a great way to track when you began work on the Project vs when it was expected, or actually closed.
- Expected Close Date. This is the date that you expect the Project to be completed. When the Project is eventually closed, Capsule will populate another field for ‘Actual Close Date’ to indicate when it closed. That way, you’ll be able to get an idea of any discrepancies between when you estimated your Project to close and when it actually closed - to help you make better predictions in the future.
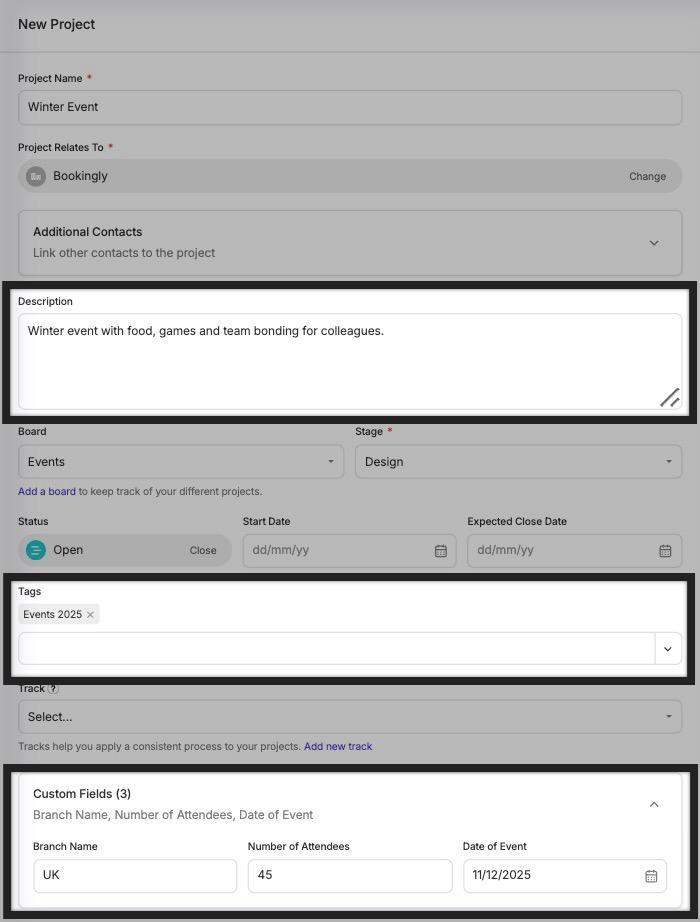
In addition to these fields, you can give your Project a Description, Tag it and set up Custom Fields to record any project details that might be unique to your business.
How to create Projects via the Mail Drop Box
You might like to create a new Project as soon as you send an email or receive an initial enquiry regarding a piece of work. Capsule makes it easy to create a brand new Project directly from your email inbox using the Mail Drop Box.
Capsule will create a new Project linked to the contact that the email has been sent to/received from, using the email subject as the name of the Project and the email is automatically attached to that new Project. When forwarding an email to your Capsule account, you can create a brand new Project by replacing dropbox@ with project@.
It will look something like this: project@12345678.examplecompany.capsulecrm.com
The Capsule user forwarding the email will be set as the Project Owner.
Who is responsible for a Project?
By default, when you add a new Project it will be assigned to you (Project Owner). You can reassign it at any time to another user. The Owner is responsible for the Project and by default will be assigned any Tasks and Tracks created.
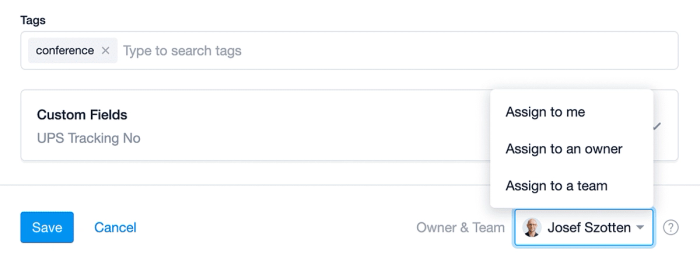
On plans with access control features you can assign ownership of a Project to:
- User only - All tasks default to this user.
- Team only - All tasks default to the user adding them.
- User within a Team - All tasks default to this user.
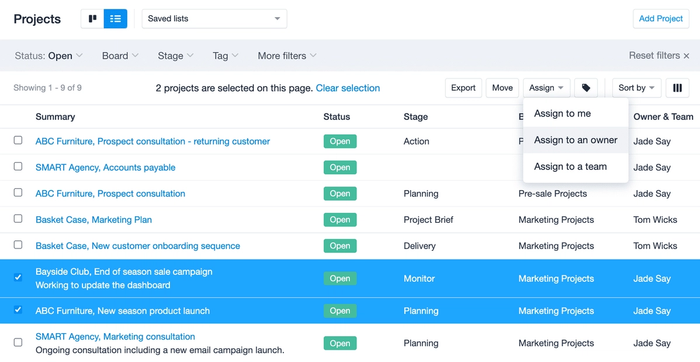
How to assign multiple Projects to a User or Team
Administrators can reassign Projects to another User/Team in bulk from the Projects page. To do that:
- Go to the Projects page and select the Project List View
- Filter or use the checkboxes to select the Projects you would like to reassign
- Once happy with the selection, click the 'Assign' button
- Select to assign the Project to another Owner or Team.
How to add Contacts to a Project
For every Project you will need to select a primary Contact. Any note or email activity logged against the Project will also be displayed on their contact record. Read more on logging activity on your Projects here.
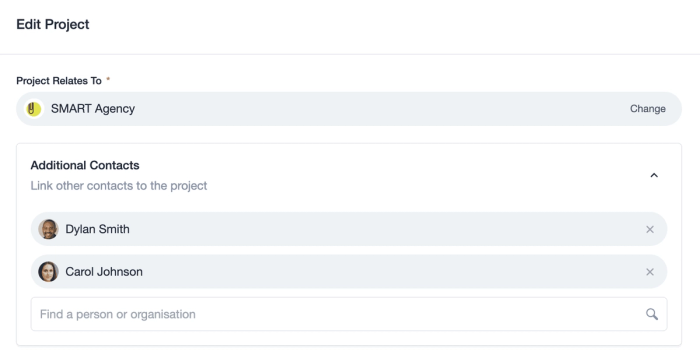
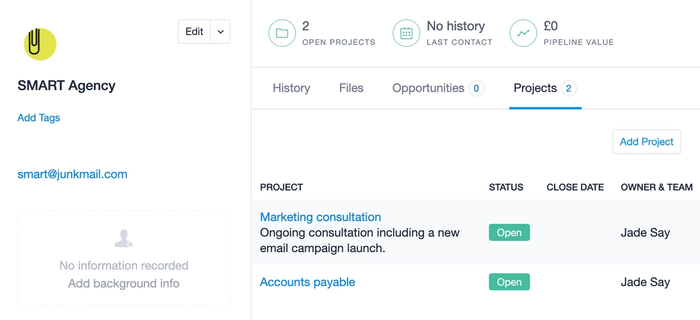
As well as the primary Contact, you can choose to link additional contacts to the Project. These contacts will be detailed on the left hand side of the Project and can easily be accessed as a list. The Project will also be listed under the ‘Projects’ tab on their contact record. Any activity logged on the Project such as emails or notes will not be displayed on the additional contact records.
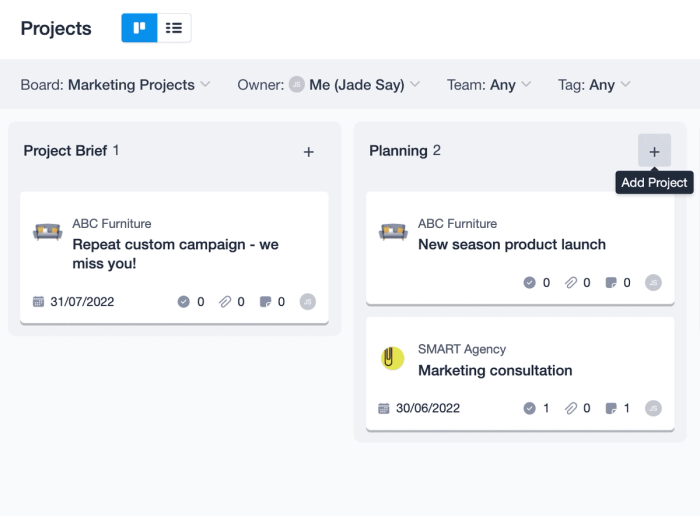
How to add Projects to a Board
Add a new Project to a Board
When creating a new Project there are dedicated fields for selecting the Board and Stage the Project will be added to.
Alternatively, you can add Projects directly into the relevant Board and Stage using the button in the top corner of each Stage.
How to add an existing Project to a Board
You can also add an existing Project to a Board and give it a Stage. This can either be done on an individual basis or in bulk.
To do that on an individual Project record:
- Open the Project record that you would like to add to a Board
- Click the Add to a Board button at the top of the page
- Here you can populate the ‘Board’ and ‘Stage’ fields to move the Project into a Board view.
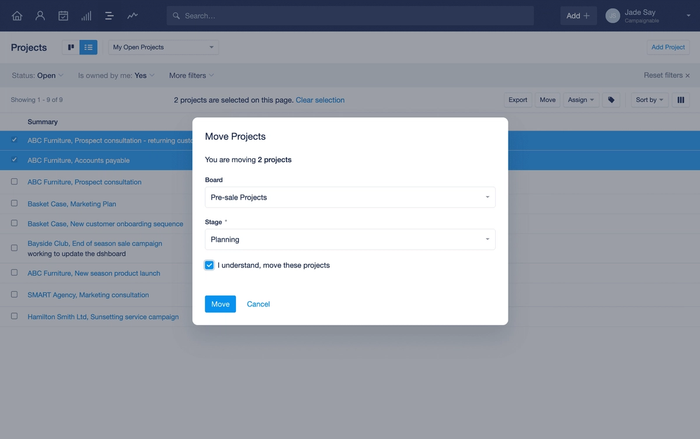
To add multiple Projects to a Board:
- Go to the Projects List View
- Apply filters to gather a list of the Projects you would like to add to a Board
- Click the Move button on the right hand side
- Here you can populate the ‘Board’ and ‘Stage’ fields to move the list of Projects into a Board view in bulk.