Integrating Aircall with Capsule CRM through Zapier allows you to bring call summaries into Capsule CRM and automatically store them on the corresponding contact record. This guide will take you step-by-step through the process of setting up the integration.
Prerequisites
Before starting, ensure you have the following:
- A Capsule account
- A Zapier account on a plan that allows multi-step Zaps and ‘Pro’ features for the Webhook feature
- An Aircall.io account
Define the Zap Trigger
1. Log into your Zapier account
2. Click +Create, then choose the New Zap option
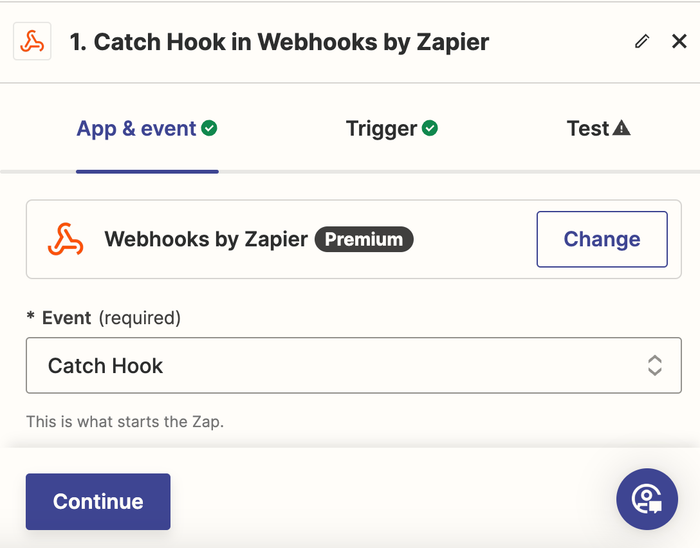
3. In the Trigger step, search for and choose Webhooks by Zapier
4. For the Trigger Event field, select Catch Hook from the dropdown

5. On the next page, leave the Pick off a Child Key field blank
6. Zapier will create will see a Custom Webhook URL field. Click the 'Copy’ button next to your Webhook URL; you will need to add this as part of the integration set-up in Aircall.io
Create Webhook integration in Aircall.io
1. Log in to your Aircall account and navigate to the Settings page
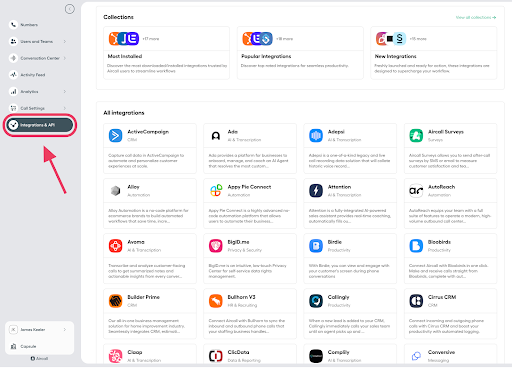
2. Select Integrations & API

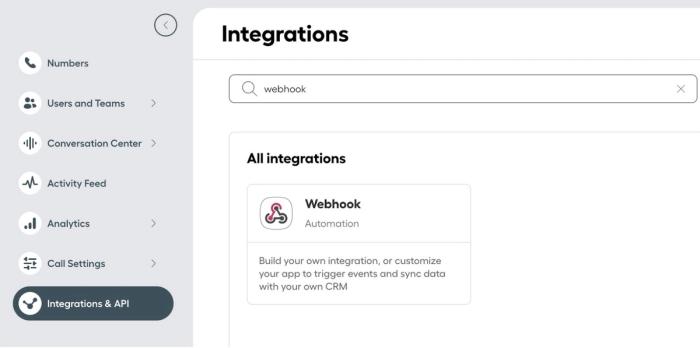
3. Scroll down or search for ‘Webhook’ on the integration list view. Click the Webhook option

4. Click Install integration
5. Enter a meaningful name for the Webhook and paste the Webhook URL you created when creating the Zap trigger
6. Click Add Webhook and wait for the process to complete.
Define the Zap Action
With the initial Zap trigger defined and the webhook set up in Aircall.io, the next step is to define the Zap action.
1. Go to the Zap in your Zapier account, and select Capsule as the app. In the Event field, select Find Contact.
2. On the next page, choose your Capsule account. If you’ve set up a Zap for Capsule earlier, you’ll be shown an existing account. Or follow the instructions to link your account and click Continue
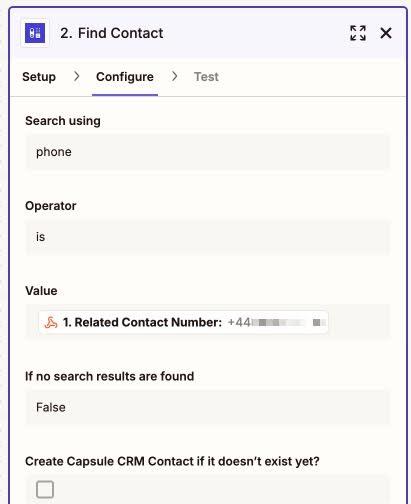
3. Under Configure, set:
- Search using = Phone Number
- Operator = is
- Value field = Related Contact Number from the Aircall webhook.
This will allow Zapier to link the call log note to a specific person record in Capsule. Click Continue

4. Add an additional action to the Zap. The app will be Capsule. In the event field, select Add Note to Entity
5. Select your Capsule account and click Continue
6. Under Configure set:
- Entity Type = Contact
- Activity Type = Call
- Contact = Click the three vertical dots to the right of the field and select Custom. Click step 2 of the Zap and then select the Capsule ID.
- Note = here you can select fields from both Aircall.io and Capsule to construct your note along with any additional text.
7. The final step is to test your Zap to ensure all is working correctly.
Enable click to call in Capsule for Aircall.io
Click to call in Capsule converts all phone numbers to clickable links. By installing the Aircall Desktop Application on your computer and setting Aircall.io as the default VoIP service, you can initiate calls via Aircall.io from Capsule.
To set up click to call in Capsule, please follow the steps below:
1. Open Capsule, then go to My Preferences and select Click to Call
2. Using the drop-down menu, select Use application that supports callto: links