Callbell is a great tool for communicating with your customers through a range of messaging platforms, including WhatsApp, Messenger, and more. Capsule provides a direct integration that pulls Callbell conversations into Capsule.
This article will explain how to set up the integration, as well as optional steps to help keep your contacts in sync.
How to set up the Callbell Integration
To set up the Callbell integration in Capsule:
- Go to Account SettingsIntegrationsCallbell
- Click the button to Enable Integration
- Follow the steps on screen to add a webhook to Callbell
- Use the dropdown to choose a Capsule Activity type for the messages that will be sent and received by Callbell
- Save your changes
The integration is now up and running.
How to import existing Capsule contacts into Callbell
If you already have a set of contacts in Capsule then you can export them all in one go to a CSV file and then import that directly into Callbell. To do that you can follow these steps:
- Login to Capsule and go to People & Organizations > filter for the contacts you want to export.
- At this point it can be helpful to make sure your list contains the columns that you want to bring across to Callbell. You can do that using the little 'columns' icon at the top of the list. Callbell supports Name, Phone, Tags, and custom fields.
- Click the button to Export and then choose Visible Columns to include just the columns from your list view. Make sure you also select the CSV option. Note that you need to have export permissions in Capsule in order to do this.
- Once you have your CSV file, login to Callbell and go to the Contacts Module, and from there Imports and then click the button to Import Contacts. Please review Callbell's more detailed instructions on the import if you need more help.
How to add new Capsule contacts to Callbell
1. Login to Zapier and create a new Zap.
2. For the trigger step, search for Capsule and select 'New or Updated Contact in Capsule CRM' as the trigger. Choose the Capsule acocunt you want to use and continue.

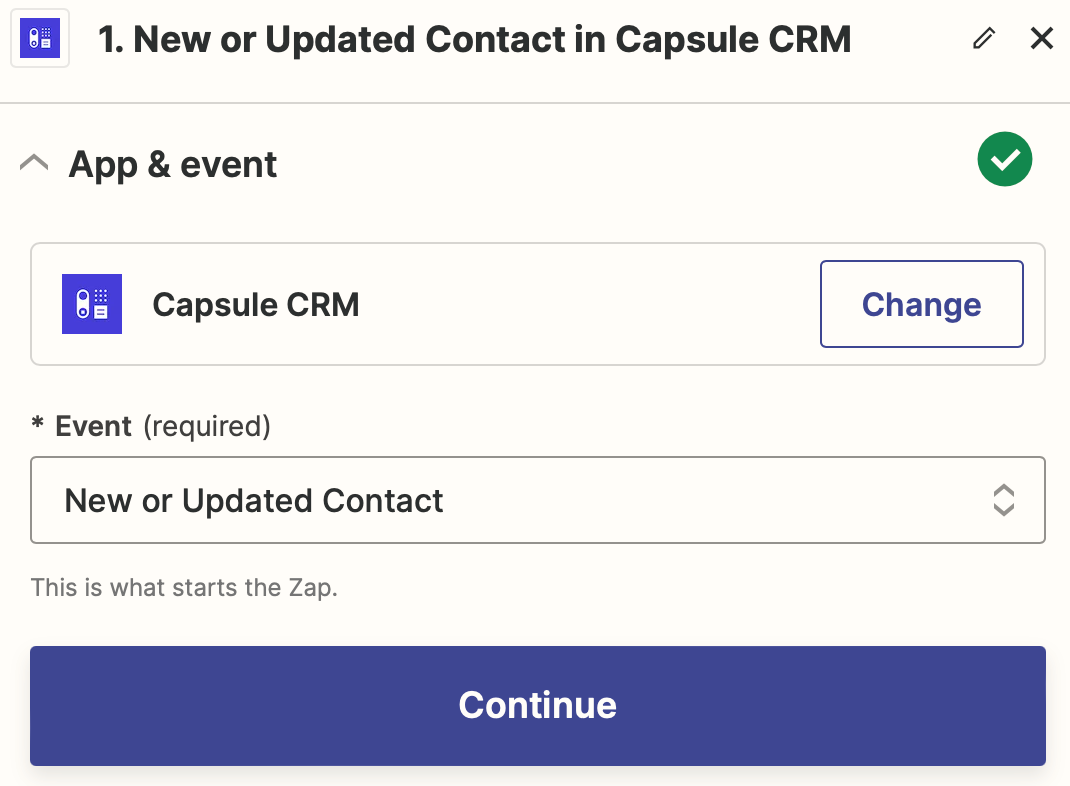
3. For the 'Action', choose created and click to continue


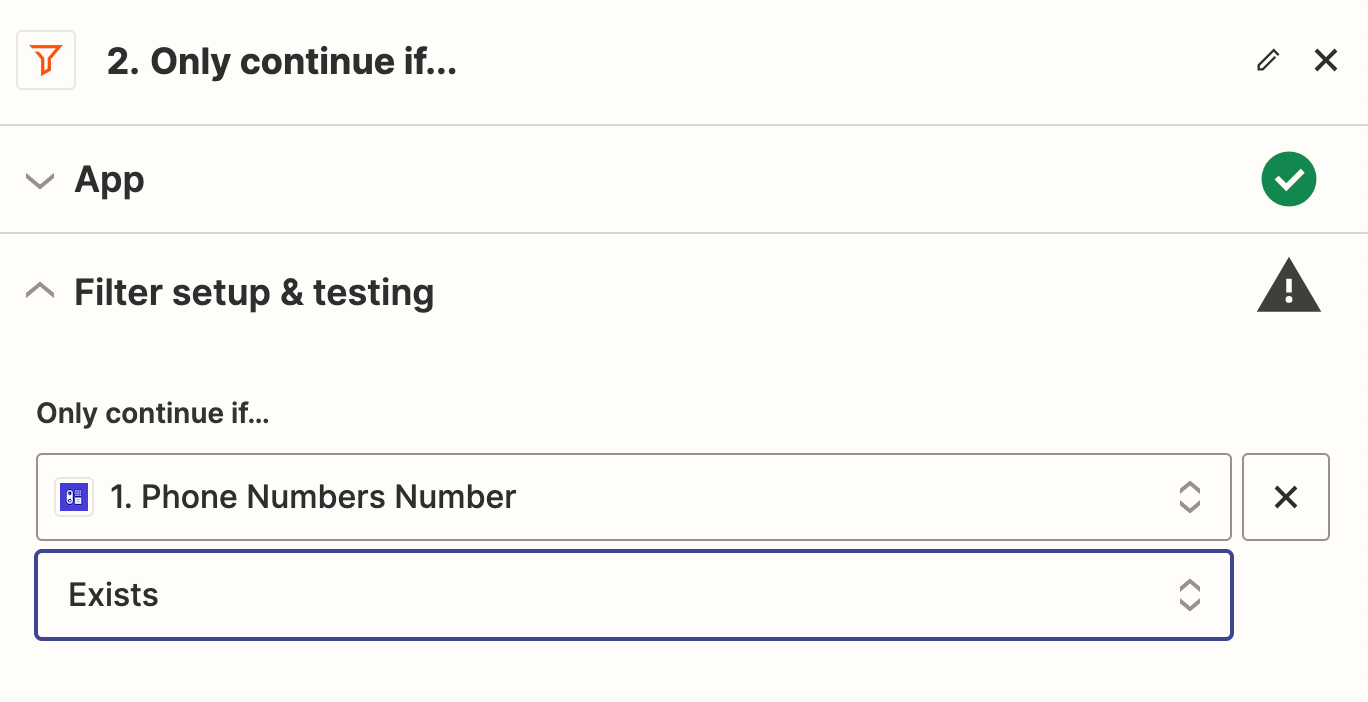
4. In the next step you want to filter so that only contacts with phone numbers are included in the Zap. Search for 'Filter' and select the Filter by Zapier step. Setup this step to 'Only continue if' Phone Numbers Number is set to Exists

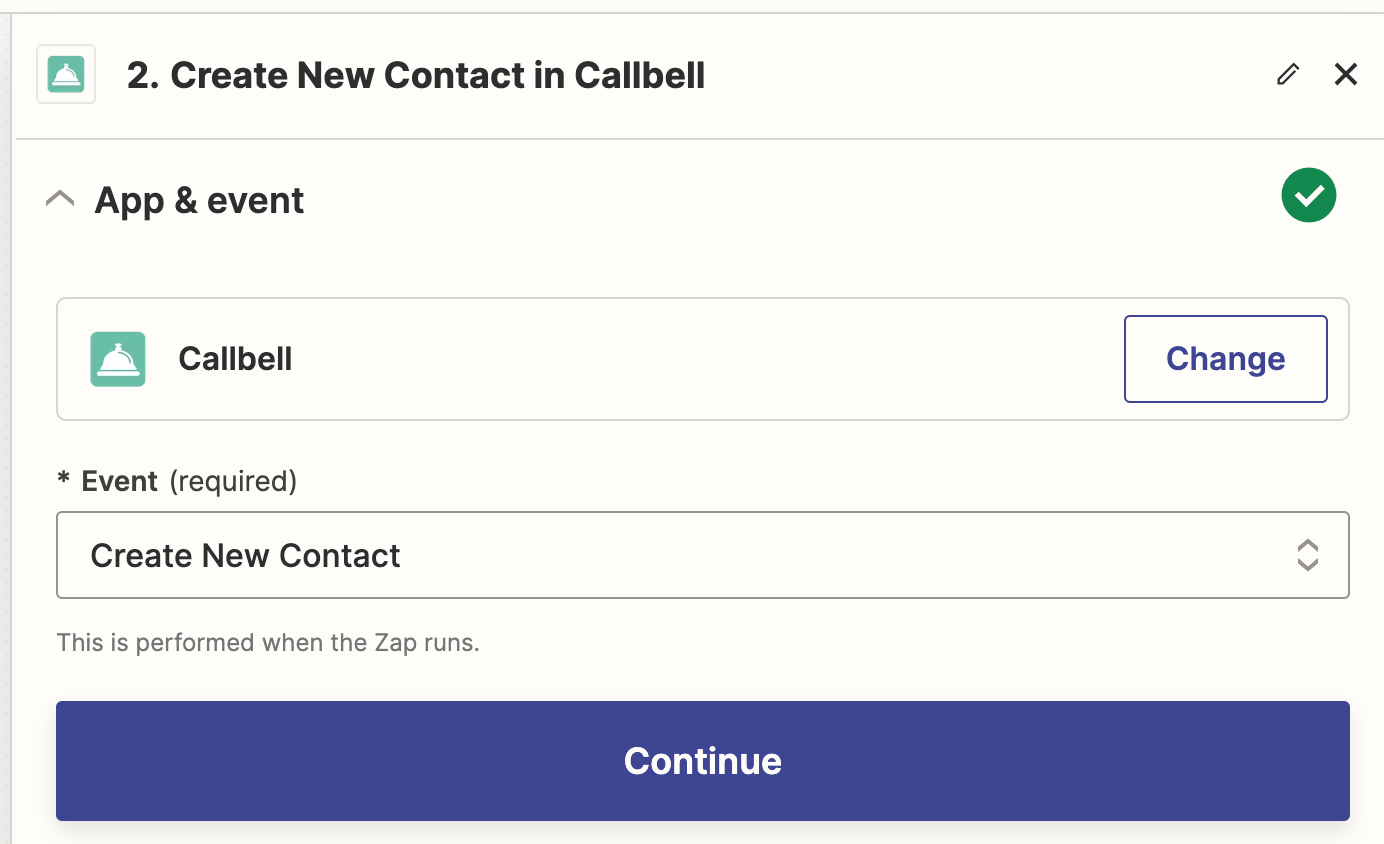
5. Next you want to setup the 'Action' to create the new contact in Callbell. Search for 'Callbell', click on it and select the option to Create a new Contact in Callbell.

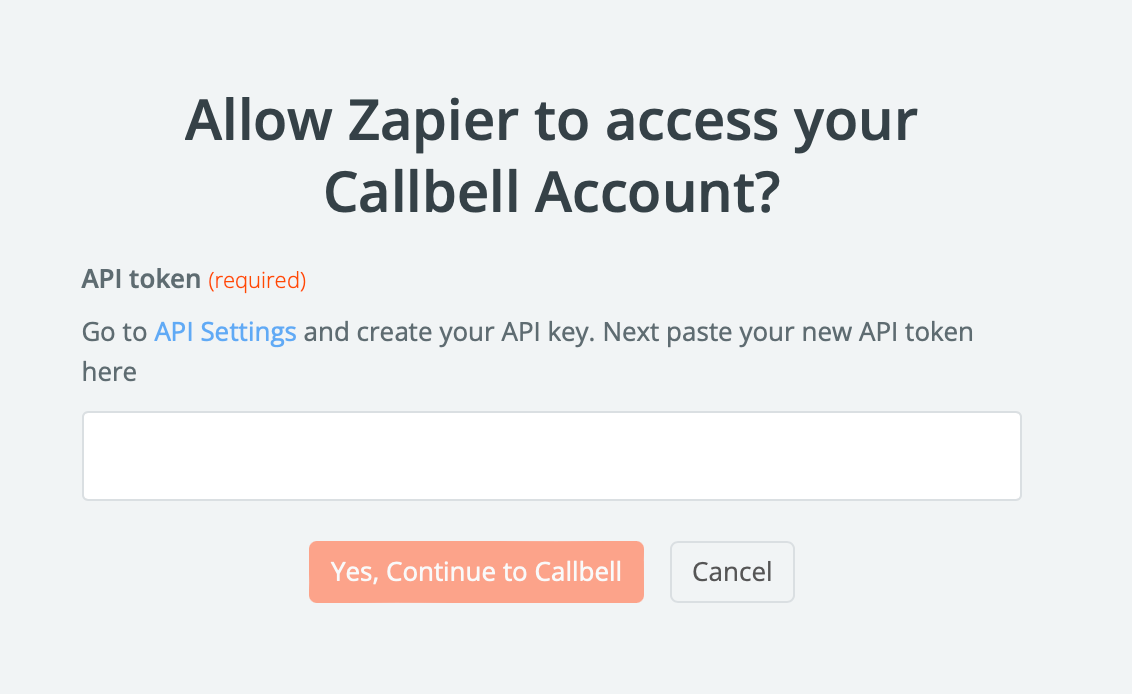
6. At this point you'll be asked to choose a Callbell account to use. If you don't already have one connected to Zapier then follow the on-screen instructions to create a new API key inside Callbell and enter it in Zapier.

7. Now you need to configure the action to create the new contact in Callbell. Choose the name from the Capsule trigger and use the Capsule phone number in the 'identifier' field.

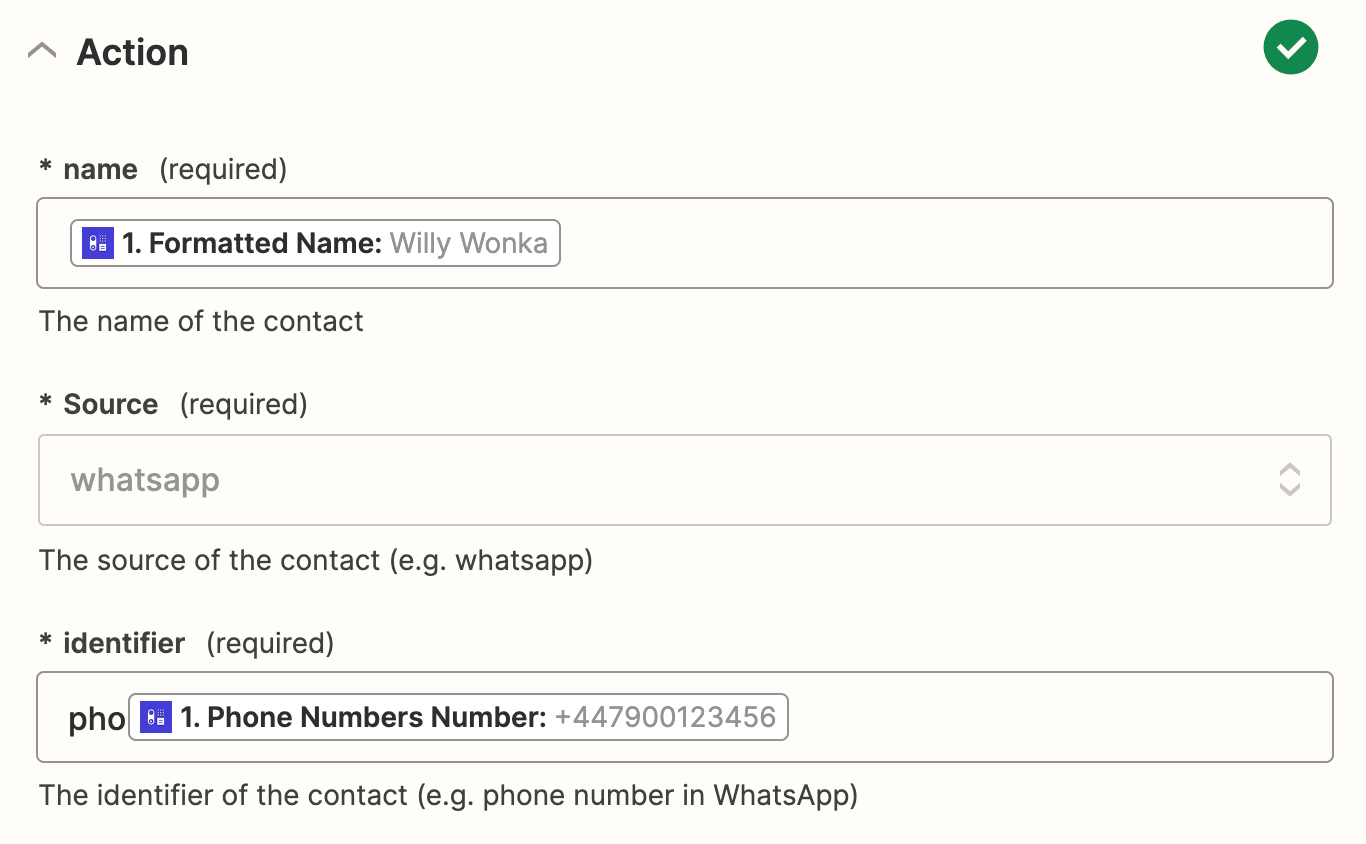
8. Test the zap to make sure it's working as expected, and when you're ready, save it and turn it on.
How to update contacts in Callbell
If a contact is updated in Capsule and a phone number is added, you can have this exported to Callbell.
Create a new Zap, repeating the steps above, but for the action in step 3, choose updated
You'll end up with a Zap that indicates it will create a new contact in Callbell when the phone number is set on an updated Capsule contact. Note: Callbell will only add the contact if it doesn't already exist, so this won't create duplicate contacts.
If you have any questions about setting up this Zap or need help, please reach out to our support team and we'll be happy to help.