Fireflies.ai helps your team transcribe, summarize, search, and analyze voice conversations. With the help of Zapier you can copy call transcriptions into a Contacts history within Capsule.
Prerequisites
- Your Zapier plan needs to allow for multi-step Zaps.
- You’ll need to have your Fireflies API key in order to complete the integration (we cover how to locate this on step 4).
How to setup the Fireflies.ai to Capsule Zap
1. Login to Zapier and create a new Zap. (We always recommend naming your Zap when you start - that way it’s easy to reference at a later time.)
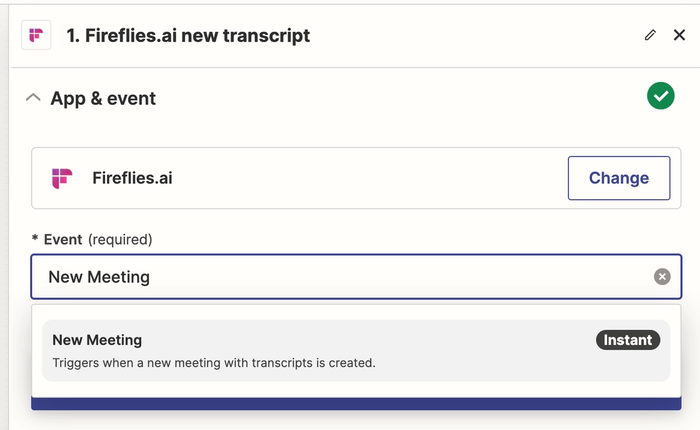
2. Click on the Trigger box, use the search field to find Fireflies.ai and then select this as your trigger.
3. In the event field select ‘New Meeting” and then click the Continue button.
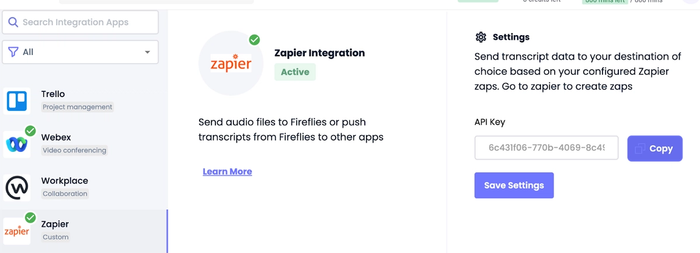
4. Next Sign into your Fireflies.ai account, link the trigger using the API key which can be found and copied from Fireflies > Integrations > Zapier… You’ll also need to enter the email address associated with your account and then click on the Continue button.
5. Once you’ve clicked Continue you’ll then see additional fields under the Trigger area, these should already be correctly populated for you and you can now click Continue again. We recommend that you test the trigger before moving to the action stage.
6. Next within the action section, search for Capsule and add an Event in the Zap to ‘Find Contact’ then click Continue.
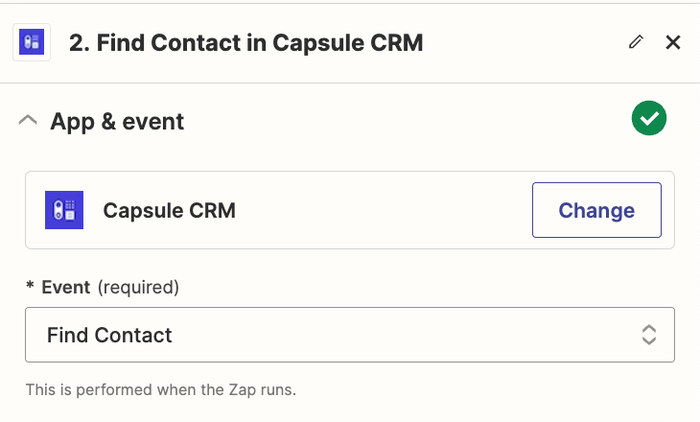
7. Select your Capsule account, click Continue and you’ll now need to configure the action. Map the ‘Search using’ field to use the Email Address, select Operator is and in the value field select ‘Main Attendee’.
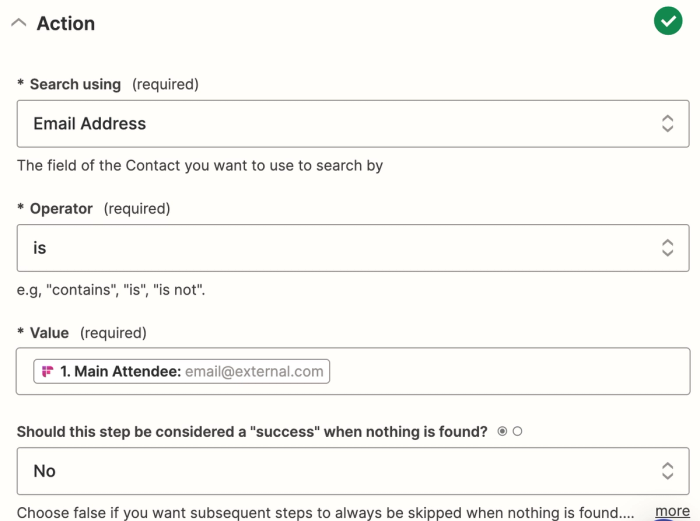
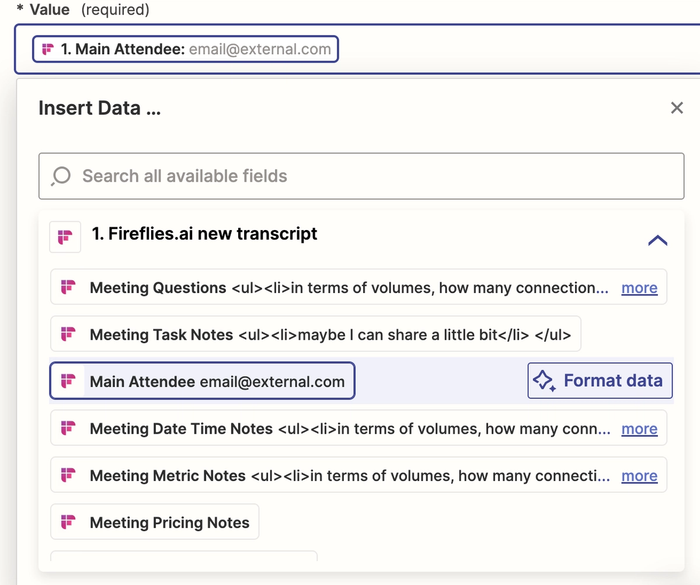
NB - If you want a Contact to be auto created in the CRM, tick the option to “Create Capsule CRM Contact if it doesn’t exist yet?”. It’s important to highlight that the Contact that is created will be named with the email address and will need to be amended in Capsule after it’s created with the correct First and Last Name. Complete the mapping as follows;
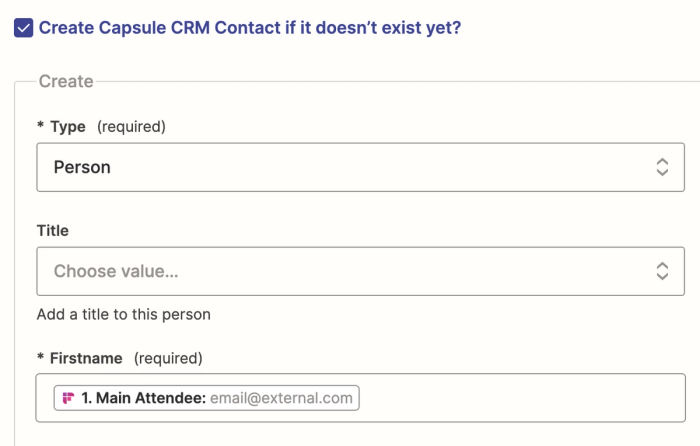

8. You’ll need to click Continue at the bottom of the page when you’re happy with the configuration. Again we recommend testing this stage before you move onto the next step of the process. Next click the small + symbol in the middle of the page to add a further step to the Zap after the find Contact step - this will now be used to create a note within Capsule. Search Capsule, this time the event will be ‘Add Note to Entity’.
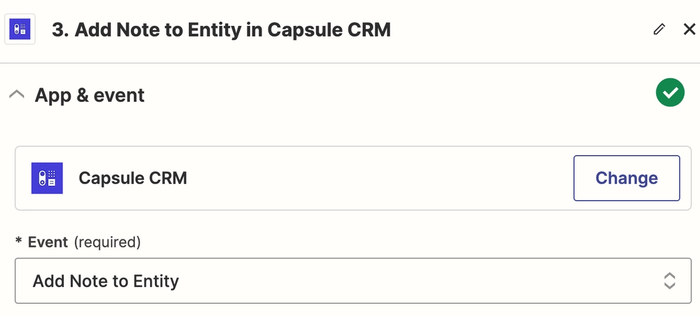
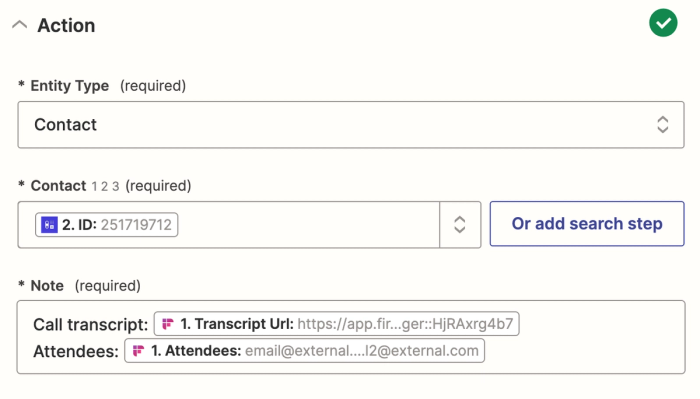
9. Click Continue, link to the correct Capsule account again and then map the following fields as shown below;
10. Finally test and publish the Zap to ensure that it’s working correctly - you’re now done! Example below of what you will see in Capsule within the Contact history:
