Dripify is an automation tool that specialises in LinkedIn leads, letting you create Drip Campaigns, Analyse Data and Respond to Leads in a quick and simple way. With the support of Zapier, you can integrate Capsule with Dripify - so that actions in LinkedIn will automate the creation of a Contact or Opportunity in Capsule.
Prerequisites
- Your Zapier plan needs to allow for multi-step Zaps.
How to set up a Dripify to Capsule Zap
The first step is to decide which Dripify Campaign you’d like to use to send data over to Zapier:
1. Go to your campaign in Dripify:
- If it’s a new Campaign, create it and follow the usual steps until you get to the third step (Step 3 - Summarize and Launch)
- If it’s an existing Campaign, click on the Campaign name and then the Settings tab
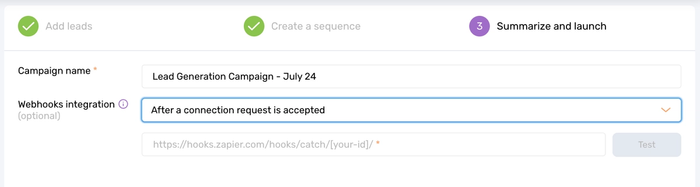
2. In the Webhooks integration field, decide when you would like to send data to Zapier. We recommend selecting After a connection request is accepted to make sure you have as much information collected as possible.
You will fill in the URL field next, when you Define the Zap Trigger.
Define the Zap Trigger
The next important part of setting up your Zap is to set up the link between Dripify and Zapier. Since the data will be pulled from Dripfy to Zapier, you will need to set up Trigger (the action that starts the Zap). This is then paired with what you want to happen in Capsule.
1. Log into your Zapier account
2. Click +Create, then choose the New Zap option
3. In the Trigger step, search for and choose Webhooks by Zapier
4. For the Trigger Event field, select Catch Hook from the dropdown
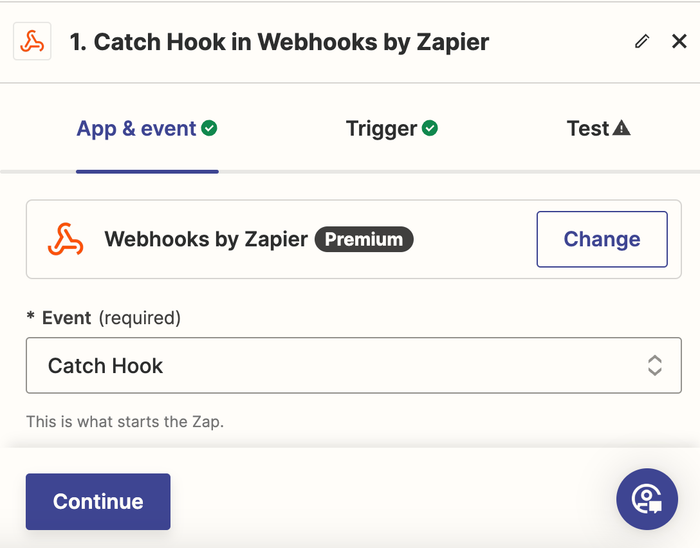
5. On the next page, leave the Pick off a Child Key field blank
6. Now you will see a Custom Webhook URL field. This is the link you will need to copy from Zapier (using the dedicated button), then paste into your Dripify Campaign
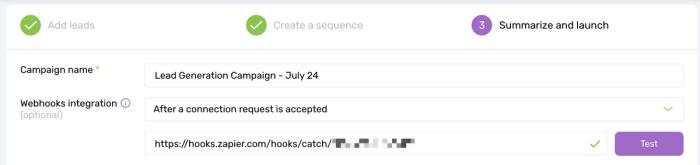
7. In Dripify, use the Test button (the purple button shown above) to check the connection. If successful, click Save.
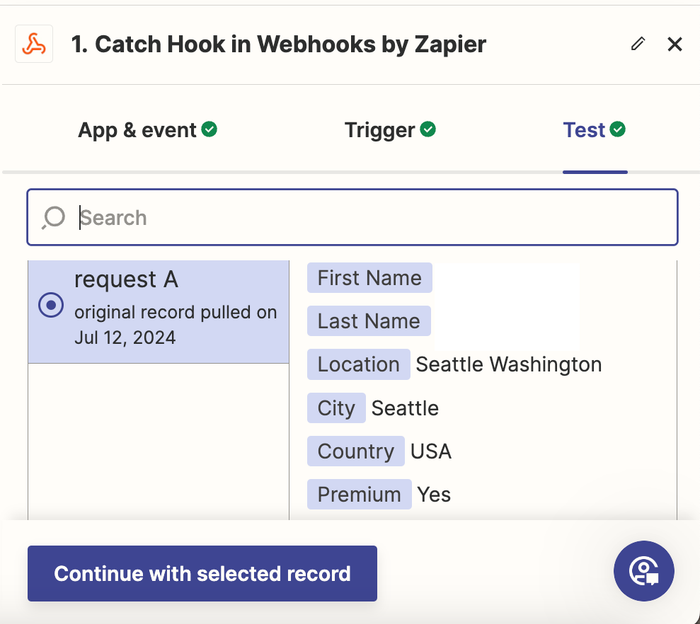
8. Then, go back to Zapier and click Continue
9. At this point, you will be asked to Test your Trigger. Use the Test Trigger button to complete the check - here you will be able to see an example of the information from your leads. Select one of the examples, then choose Continue with selected record to take you to the next step.
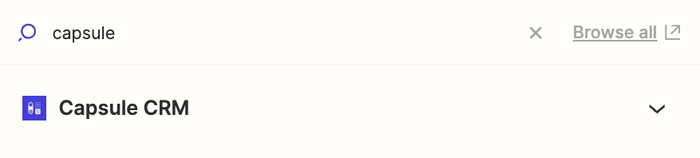
10. You’ll then be directed to a screen with the app connection options. Search for and select Capsule CRM
Define the Zap Action
Next, you will need to set up what you would like to happen in Capsule, with the data sent from Dripfiy to Zapier. Click one of the links below for instructions:
How to add a Capsule Contact from a Dripify Campaign
Make sure you have followed all of the steps to select the Dripify Campaign and define the Trigger first.
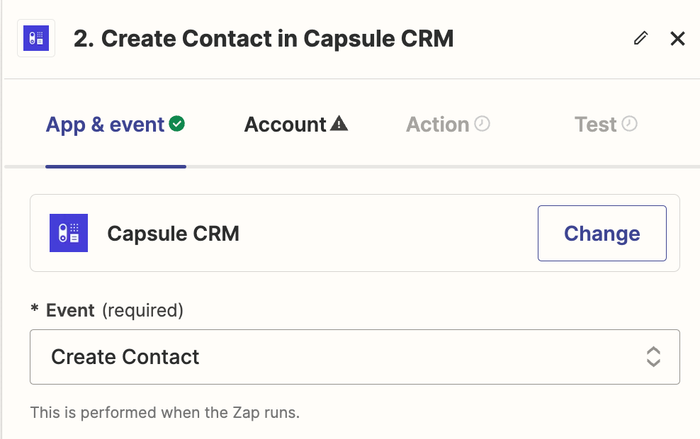
Define the Zap Action: Create Contact
1. In the Event field, choose Create Contact
2. On the next page, choose your Capsule account. If you’ve set up a Zap for Capsule earlier you’ll be shown an existing account. Or follow the instructions to link your account and click Continue
3. Here, you will need to match the fields in Capsule with the Dripify fields. Switch to the Custom tab where you are not able to see Dripify fields. Type and Firstname are required fields, we also recommend mapping Email Address and Lastname

4. At this point, you will be asked to Test your Step. Use the Test Step button to complete the check - this will create a new Contact in Capsule
5. When you’re happy with the result, click the Publish button to save your changes and push your Zap live.
How to add a Capsule Opportunity from a Dripify Campaign
Make sure you have followed all of the steps to select the Dripify Campaign and define the Trigger first.
Define a Find Step: The Contact
Now you will need to ask Zapier to find a Capsule Contact to create the Opportunity for:
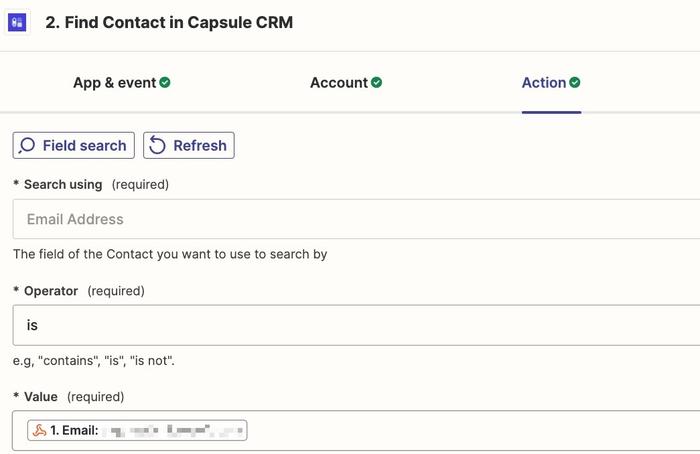
1. In the Event field, choose Find Contact
2. On the next page, choose your Capsule account. If you’ve set up a Zap for Capsule earlier you’ll be shown an existing account. Or follow the instructions to link your account and click Continue
3. Fill in the following fields as shown below
- Search using = Email Address
- Operator = is
- Value = Email (from the Dripify Fields)
4. At this point, you can also get Zapier to create a new Contact for this Opportunity (if it doesn’t exist in Capsule). To do this, check the option to Create Capsule CRM Contact if it doesn’t exist yet and match to the Dripify fields. Make sure you have Type, Firstname and Email Address at least, as these are required fields.
5. Now you will be asked to test this step. Click Test Step to complete it
6. You’ll see a record ID for the Contact, which we’ll use that to Define the Action next.
Define the Zap Action: Create Opportunity
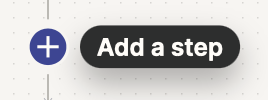
1. Choose the option to + Add Step button
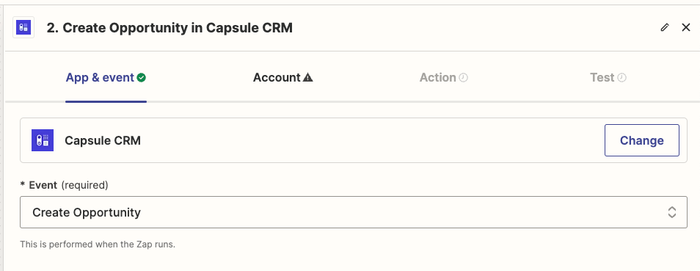
2. You’ll then be directed to a screen with the app connection options. Search for and select Capsule CRM
3. In the Event field, choose Create Opportunity
4. On the next page, choose your Capsule account and click Continue
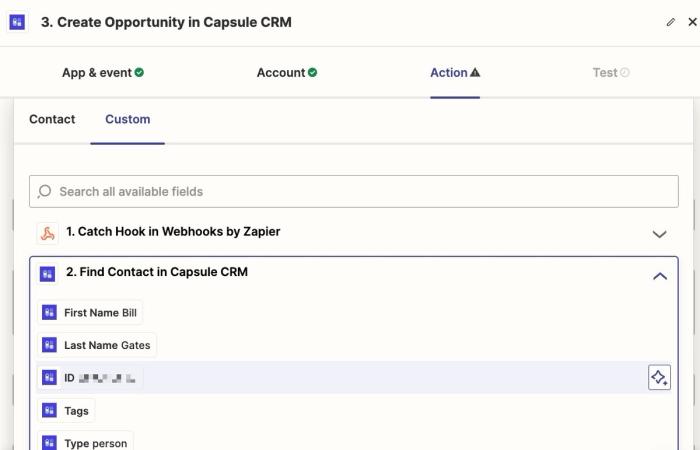
5. Here, you will need to match the fields to the fields in Capsule. For the Contact field, switch to the Custom tab, then click Find contact in Capsule CRM. From the dropdown, select the ID field.
6. Fill out the rest of the fields for the Capsule Opportunity. Pipeline and Name (of the Opportunity) are also required fields

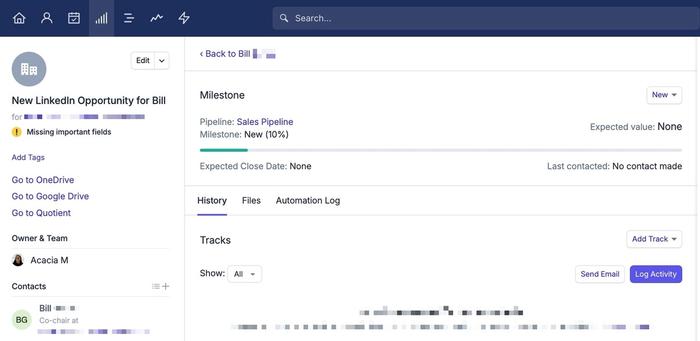
7. At this point, you will be asked to Test your Step. Use the Test Step button to complete the check - this will create a new Opportunity in Capsule
8. When you’re happy with the result, click the Publish button to save your changes and push your Zap live.