DocuSign is a tool for managing both agreements and signatures online. With the support of Zapier, you can automate actions in Capsule based on a trigger in DocuSign. We have covered the most useful Zaps in this article and show you how to set them up.
Prerequisites
- A Capsule account
- A Zapier account on a plan that allows multi-step Zaps
- A DocuSign account
How to set up the DocuSign to Capsule Zap
As mentioned above, Zapier works with Triggers and Actions - this means you can set up a Trigger in DocuSign and then an Action in Capsule based on this. Click the right link below for the instructions to set up your Zap:
- Update a Capsule Opportunity from a completed DocuSign
- Add a Capsule Project from a completed DocuSign
How to update a Capsule Opportunity from a completed DocuSign
Setting up this Zap is an easy way to save time - by making sure a Capsule Opportunity for the Contact is marked as Won every time a DocuSign is completed (plus a link to download the completed envelope in the Opportunity history).
We have created a template to make the process as simple as possible
Click the link above to get started, then follow the steps below:
Define the Zap Trigger: Completed DocuSign
1. You should be directed to this step in the template - but if not, click on the tile for Envelope Status Updated
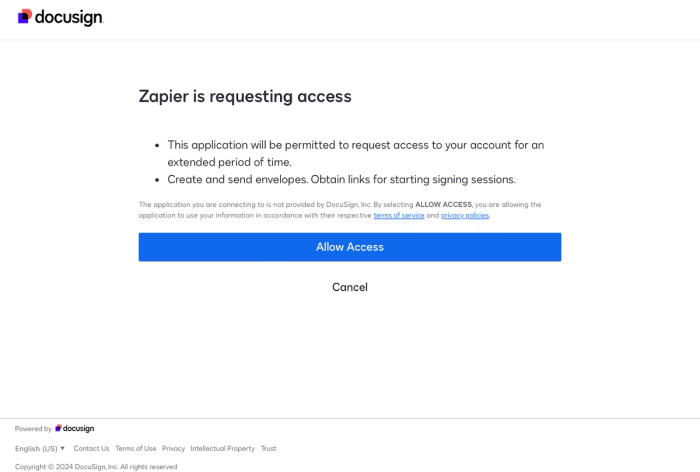
2. In the Account field on the same page, choose Sign In to link Zapier to DocuSign - or select an already existing DocuSign connection.
If you are asked to Sign in, Zapier will first ask for the account type - select Production, then follow the steps from there to log in and allow access
3. When directed back to Zapier, choose Continue
4. On the Configure tab, click Continue
5. At this point, you will be asked to Test your Trigger. Use the Test Trigger button to complete the check - here you will be able to see an example of the information from your completed DocuSigns
6. Select one of the examples, then choose Continue with selected record to take you to the next step
Define a Find Step: The Contact
1. Before we can find the Opportunity we first have to find a Contact to link it to. You should be redirected to this step in the template - but if not, click on the tile for Find Contact
2. In the Account field, choose your Capsule account. If you’ve set up a Zap for Capsule earlier you’ll be shown an existing account. Or follow the instructions to link your account and click Continue
3. On the Configure tab, click Continue
4. Now you will be asked to test this step. Click Test Step to complete it
5. In the results, you’ll see a Contact ID for the Contact, that will be used to Define the next step. Click Continue
Define a Find Step: The Opportunity
1. Now we can find the Opportunity linked to the Contact found in the previous step. You should be redirected to this step in the template - but if not, click on the tile for Find Opportunity
2. In the Account field, make sure your Capsule account is selected then choose Continue
3. On the Configure tab, click Continue
4. Now you will be asked to test this step. Click Test Step to complete it
5. In the results, you’ll see an Opportunity ID this time, that will be used to Define the action next. Click Continue
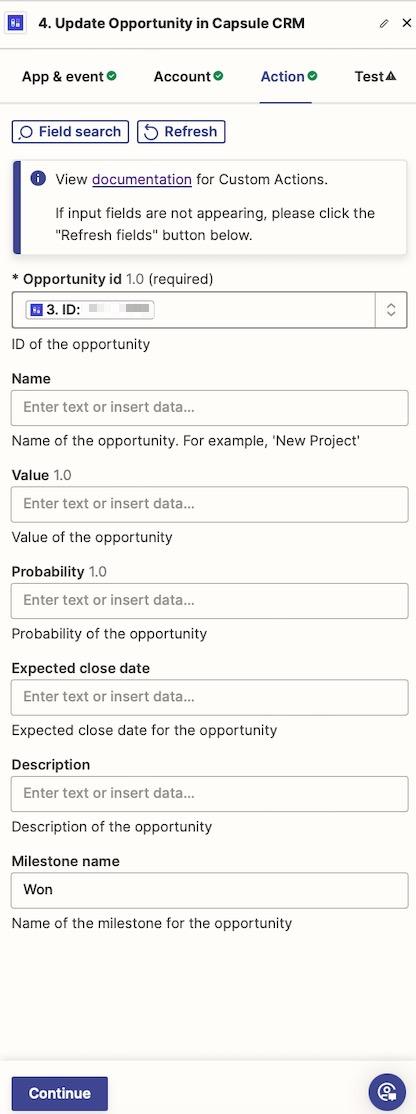
Define the Zap Action: Update Opportunity
1. Next, we can update this Opportunity to Won. You should be redirected to this step in the template - but if not, click on the tile for Update Opportunity
2. In the Account field, make sure your Capsule account is selected then choose Continue
3. On the Configure tab, you will see the Opportunity ID filled in automatically. Scroll down to the Milestone name field and type Won. Then Continue
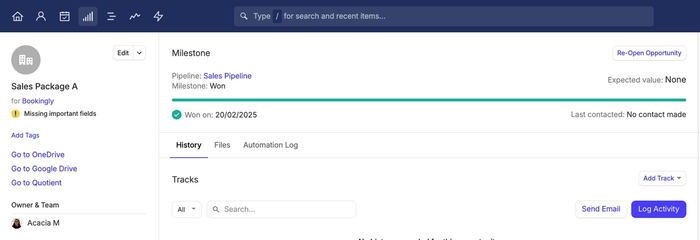
4. Now you will be asked to test the action. Click Test step - if successful, this will mark the Opportunity as Won in Capsule
Define the Zap Action: Add Opportunity Note
1. Finally, we can add the link (to download the completed DocuSign) as a Note on the Opportunity. You should be redirected to this step in the template - but if not, click on the tile for Add Note to Entity
2. In the Account field, make sure your Capsule account is selected then choose Continue
3. On the Configure tab, click Continue
4. Now you will be asked to test the action. Click Test step - if successful, this will add the Note to the Opportunity history in Capsule

5. Click the Publish button to save your changes and push your Zap live.
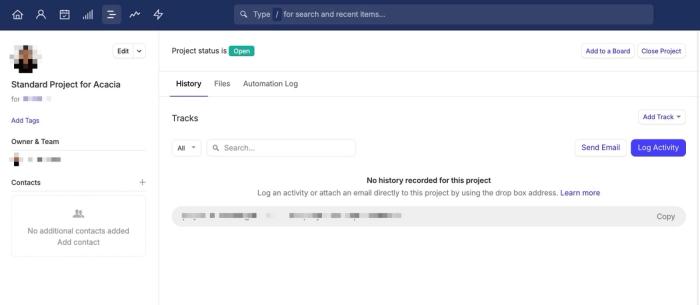
How to add a Capsule Project from a completed DocuSign
Setting up this Zap is an easy way to save time - by making sure a new Project is automatically added for the Contact in Capsule every time a DocuSign is completed (plus a link to download the completed envelope in the Project history). You can also set it up to create a new Contact in Capsule if they don’t already exist.
We have created a template to make the process as simple as possible
Click the link above to get started, then follow the steps below:
Define the Zap Trigger: Completed DocuSign
1. You should be redirected to this step in the template - but if not, click on the tile for Envelope Status Updated
2. In the Account field on the same page, choose Sign In to link Zapier to DocuSign - or select an already existing DocuSign connection.
If you are asked to Sign in, Zapier will first ask for the account type - select Production, then follow the steps from there to log in and allow access
3. When directed back to Zapier, choose Continue
4. On the Configure tab, click Continue
5. At this point, you will be asked to Test your Trigger. Use the Test Trigger button to complete the check - here you will be able to see an example of the information from your completed DocuSigns
6. Select one of the examples, then choose Continue with selected record to take you to the next step
Define a Find Step: The Contact
1. Before we can create the Project we first have to find a Contact to link it to. You should be redirected to this step in the template - but if not, click on the tile for Find Contact
2. In the Account field, choose your Capsule account. If you’ve set up a Zap for Capsule earlier you’ll be shown an existing account. Or follow the instructions to link your account and click Continue
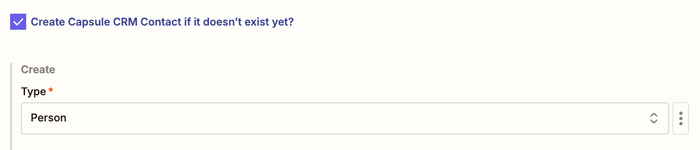
3. On the Configure tab, you will be given the option to add a Contact to Capsule if it doesn't already exist. To do that, click the option to Create Capsule CRM Contact if it doesn’t exist yet?
You only need to map the relevant Fields, we’d recommend that you include Type, Firstname, Number and Email Address (if available) - the other fields will be optional. Once you’ve reviewed the configuration, click Continue
4. Now you will be asked to test this step. Click Test Step to complete it
5. In the results, you’ll see a Contact ID for the Contact, that will be used to Define the Action next. Click Continue
Define the Zap Action: Add Project
1. Now it’s time to create the Project. On the Setup tab, select Continue to pick the Capsule Account. It will default to the Capsule Account used in the earlier step. Then, select Continue
2. You will see a Contact ID in the Contact Field. Fill in the remaining fields for your Project.
You only need to map the relevant Fields, we’d recommend that you include the Project Name, Board and Stage - the other fields will be optional. You can either set them with standard information or use data from the DocuSign form.
3. Once you’ve reviewed the configuration, click Continue
4. At this point, you will be asked to Test your Step. Use the Test Step button to complete the check - this will create a Project in Capsule, linked to the Contact who completed the DocuSign
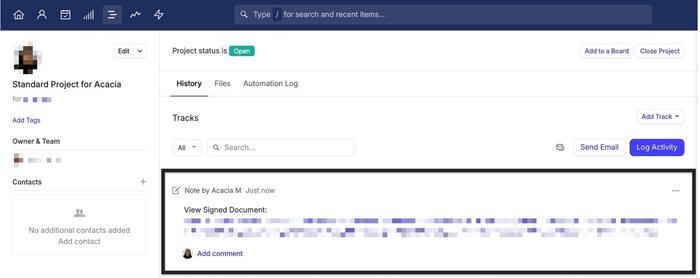
Define the Zap Action: Add Project Note
1. Finally, we can add the link (to download the completed DocuSign) as a Note on the Project. You should be redirected to this step in the template - but if not, click on the tile for Add Note to Entity
2. In the Account field, make sure your Capsule account is selected then choose Continue
3. On the Configure tab, click Continue
4. Now you will be asked to test the action. Click Test step - if successful, this will add the Note to the Project history in Capsule
5. Click the Publish button to save your changes and push your Zap live.