Who is the Super Administrator
The Super Administrator role on your account is responsible for all account related functions. Administrators can help with the setup of the account but are unable to assist with payments or account-related decisions.
There is always at least one Super Administrator on your account. The person opening the account is automatically assigned this role, however this person can reassign this role and responsibilities across to another user at any time.
Responsibilities of the Super Administrator
Your Company is the Capsule customer and the Super Administrator(s) has responsibility for the account as a whole, on behalf of the Company. They take responsibility for user behavior and content within your account.
There are features in Capsule your Super Administrator can see and edit that are not available to others, these are; changing your company name/address/billing info/invoice cc, canceling the account and accessing deleted records. All of these are explained below.
Changing your Super Administrator
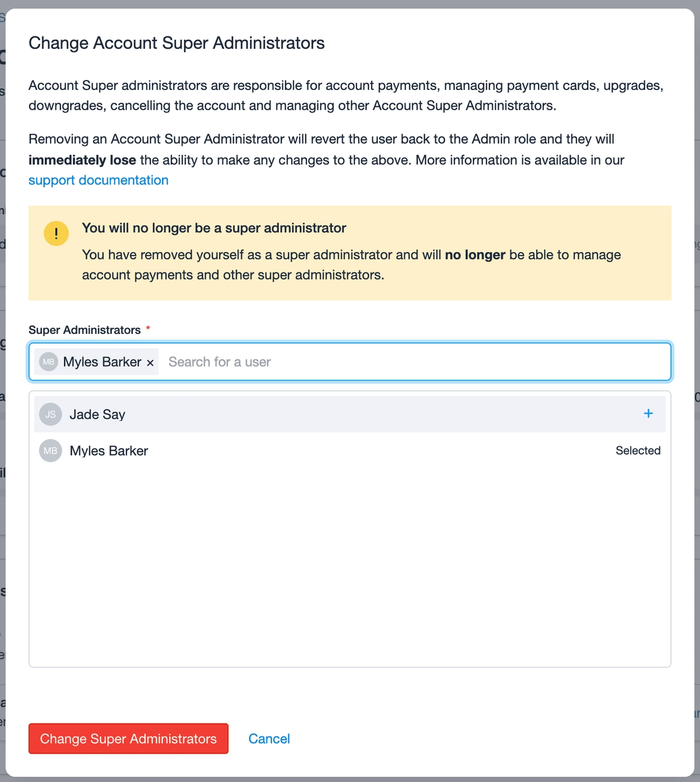
Your current Super Administrator can assign their role to another user following these steps:
- Go to the Account SettingsAccount and Plan
- Click the button to Change under the Super Administrators heading.
- Select the new Super Administrator from the user list using the option.
- The current Super Administrator will need to click the X icon next to their name to remove their Super Administrator permissions.
- Confirm the changes by selecting Change Super Administrators.
- The old and new Super Administrator will need to log out and back in to Capsule to see the change.
In exceptional circumstances where your Super Administrator is unable to make this change, a customer representative writing from a company domain email address should contact us and we will work through the steps necessary for us to help you with this change.
How to add more Super Administrators
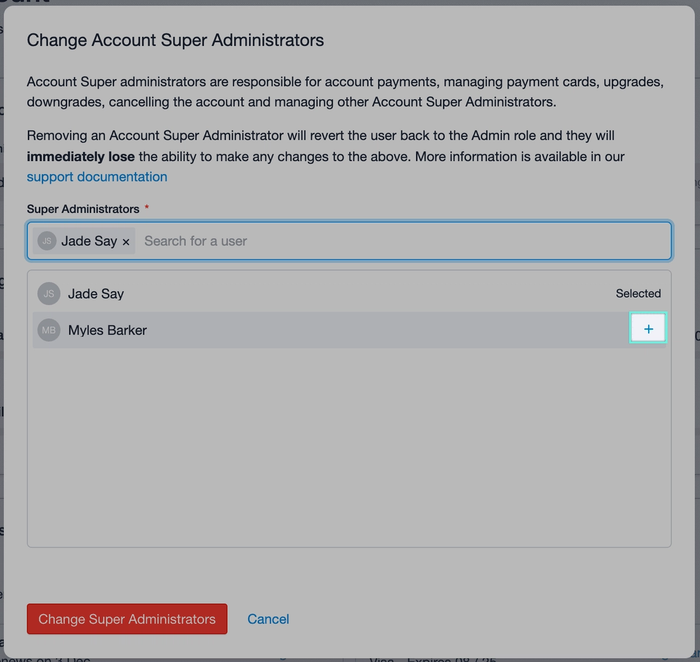
The current Super Administrator has the ability to make more Super Administrators. To do that they would follow these steps:
- Go to the Account SettingsAccount and Plan
- Click the button to Change under the Super Administrators heading.
- Select the new Super Administrator from the user list using the option.
- This will add the user as an additional Super Administrator.
- Confirm the changes by selecting Change Super Administrators.
Alternatively, a Super Administrator can add multiple Super Administrators from the User and Teams settings page. To do that:
1. Go to the Account SettingsUsers and Teams.
2. Click on the user you'd like to make Super Administrator
3. Use the Role drop down and select Super Administrator.
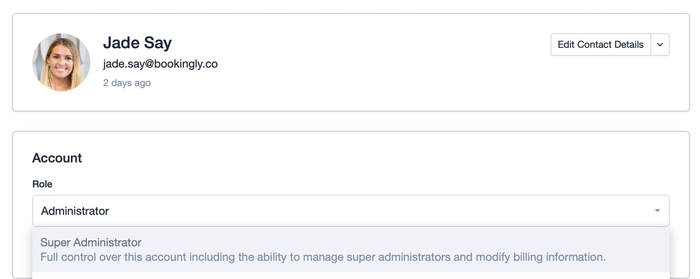
4. Review and then confirm the details of the change and click the button to Add Super Administrator.
How to change your Company Name & Site Address
Changing your company name or Capsule site address is simple. Once you have updated the required information you must inform your users of the changes as it will change the URL they use to access Capsule and the Mail Drop Box address on the account. To change your company information:
- Go to the Account SettingsAccount and Plan
- Click the link to change under the 'Site address of your account' or 'Company Name' heading.
- Enter the new subdomain or company name and save the changes.

When changing site address this also updates your Mail Drop Box email address automatically. You can find the new Mail Drop Box address by clicking on your name in the top menu bar Account SettingsMy PreferencesMail Drop Box. All users will need to be made aware of this new address so they can continue to store emails.
Trash, Permanently Deleting & Restoring Records
All users have the ability to delete individual records they have access to. Deleted records are stored in the 'Trash' for 30 days before they are permanently deleted. A Super Administrator can permanently delete earlier than the 30 days, or, restore a record from Trash.
- Delete - permanently deletes the record and it cannot be restored.
- Restore - restores the full entry. Sometimes this could restore a lot of records e.g. where there was a bulk delete.
Each delete action represents a row in the trash. This could be a single email or a bulk delete of three contacts for example.
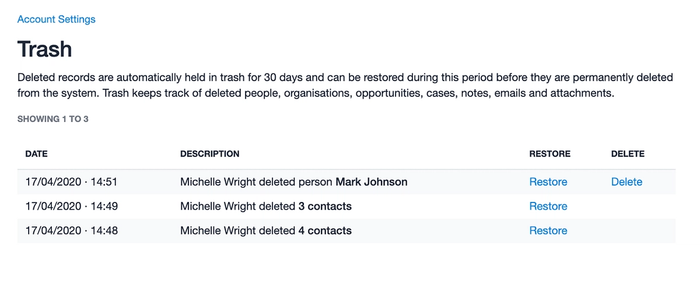
Here’s a list of the different records that can be restored:
- People & Organizations along with any linked Tasks, Projects, Opportunities, history and attachments
- Opportunities & Projects along with any linked tasks, history and attachments
- Notes & Emails along with any linked attachments
- Files that were attached to activity entries such as notes or emails
To permanently delete or restore you go to the Account SettingsTrash - here you’ll see a list of all deletion entries in the last 30 days. You'll also be sent a confirmation email once the restore or delete is complete.
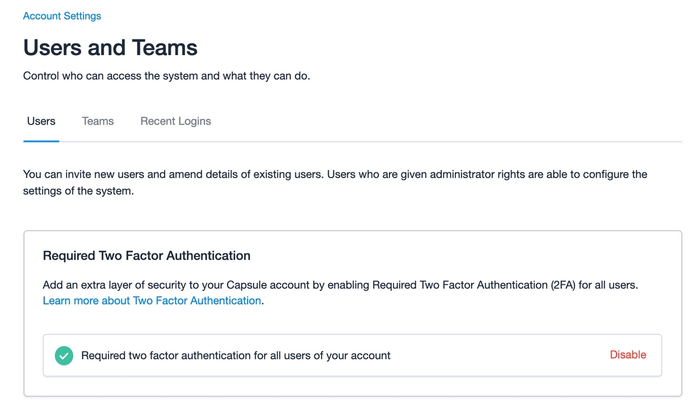
How to set up Required Two Factor Authentication
All users have the ability to enable Two Factor Authentication (2FA) for their own individual user login, and this can be turned on or off at any point. The Super Administrator however, has the ability to enforce 2FA across the account using Required Two Factor Authentication.
Once Required Two Factor Authentication is enabled on the account, any users who do not have 2FA set up will be logged out of Capsule automatically. The next time they login, they will be prompted to set up 2FA and will need to have it enabled in order to access the account moving forward.
How to enable Required Two Factor Authentication
To enable Required Two Factor Authentication:
1. Go to the Account Settings > Users and Teams.
2. Click to ‘Enable’ Required two factor authentication for all users on your account.
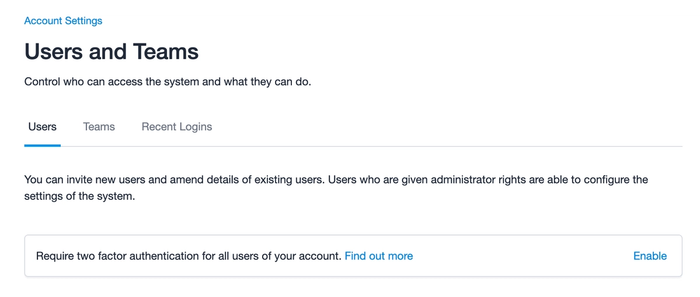
3. If you do not currently have 2FA enabled yourself, you will be prompted to get that set up prior to turning on Required 2FA.
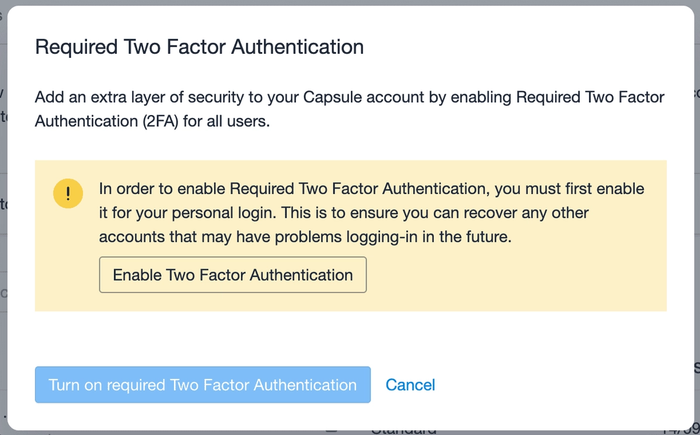
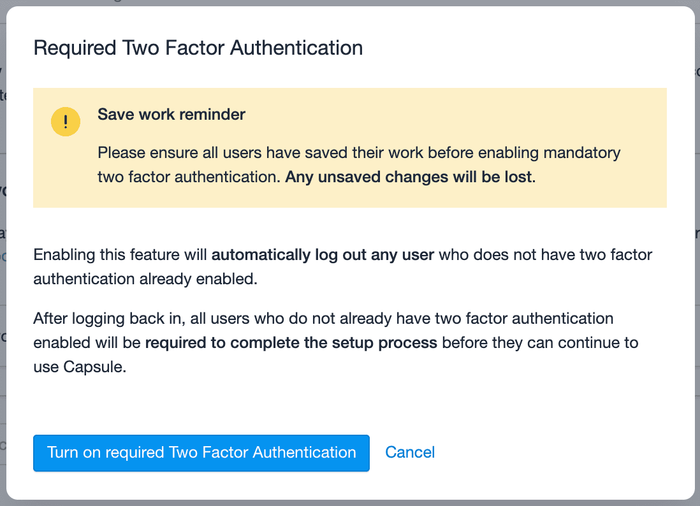
On logging back into Capsule, these users will be required to set up 2FA before they can regain access to the account.
How to disable Required Two Factor Authentication
To disable Required Two Factor Authentication:
- Go to the Account Settings > Users and Teams
- Click the link to ‘Disable’ Required two factor authentication for all users on your account.
- Confirm you would like to ‘Disable Required Two Factor Authentication’.
