
Advertising can be pricey, so it’s a huge win when someone clicks on your ad or submits a form from your Facebook page. But, it’s only truly worth that investment if you manage to make a sale.
When it comes to converting leads, it’s essential that you follow up quickly while your business is still fresh in your lead’s mind. The sooner you reach out, the better chance you have of winning them as a customer.
That’s why it’s important that you get leads into your CRM straightaway. If you do this manually, you could miss the timeframe in which engaged leads expect a response. You also run the risk of making a mistake with data entry or worse - forgetting to add the lead to your CRM at all.
You can make the whole lead creation process much simpler. Using Zapier you can sync these leads into Capsule just like that.
When a new lead is created from Facebook, you can get this automatically sent to Capsule as a new contact, new opportunity, new project or new task. Follow our guide below to get your Facebook leads to Capsule.
Things you need to check before you start
You’ll need admin access for the Facebook page you want to use, the associated ad account and access to leads. You may need to reach out to the page owner or Business Manager admin to request those permissions if you don’t have access.
You’ll also need to create a form in Facebook Lead Ads and have one lead or more. If you just want to test out the integration and don’t have any leads yet you can use the Facebook Lead Ads Testing Tool
You’ll also need to be on a Zapier paid plan or on their two-week trial to set up and use the Zap.
How to add leads from Facebook Lead Ads to Capsule
Zapier lets you create trigger-based workflows called Zaps. In this instance, when a lead is collected in Facebook we’re sending this information over to Capsule. You can create Zaps from scratch but here’s a quick template we’ve made to get you started. This will add a Facebook lead to Capsule as a new Contact.
Set up your Facebook Lead Ads trigger
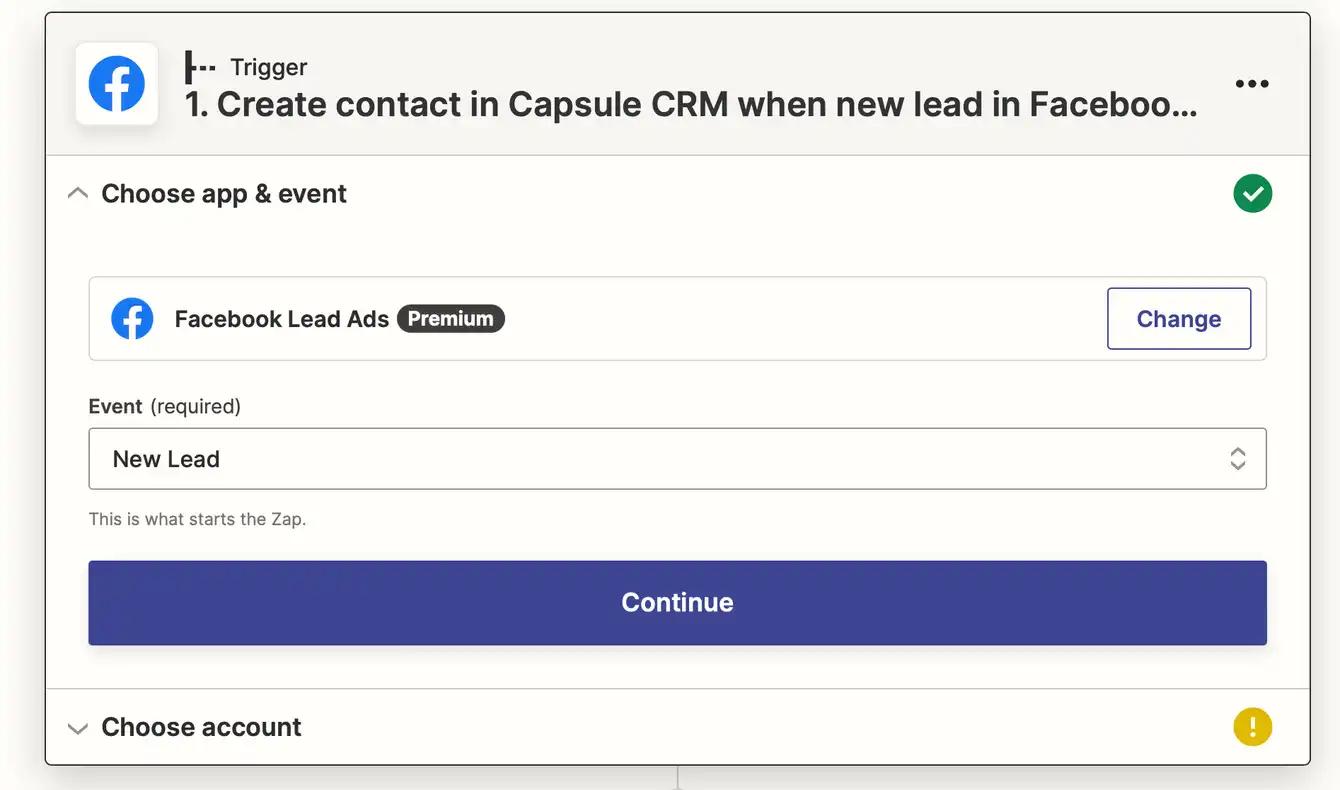
First, you’ll need to set up your trigger (this is the event that starts the Zap). Search for and select Facebook Lead Ads as the app and New Lead as the event. Click Continue.

Next, you have to connect your Facebook account. Click on Choose an account. If you’ve connected Facebook and Zapier before you can select an account or if not, click +Connect a new account.

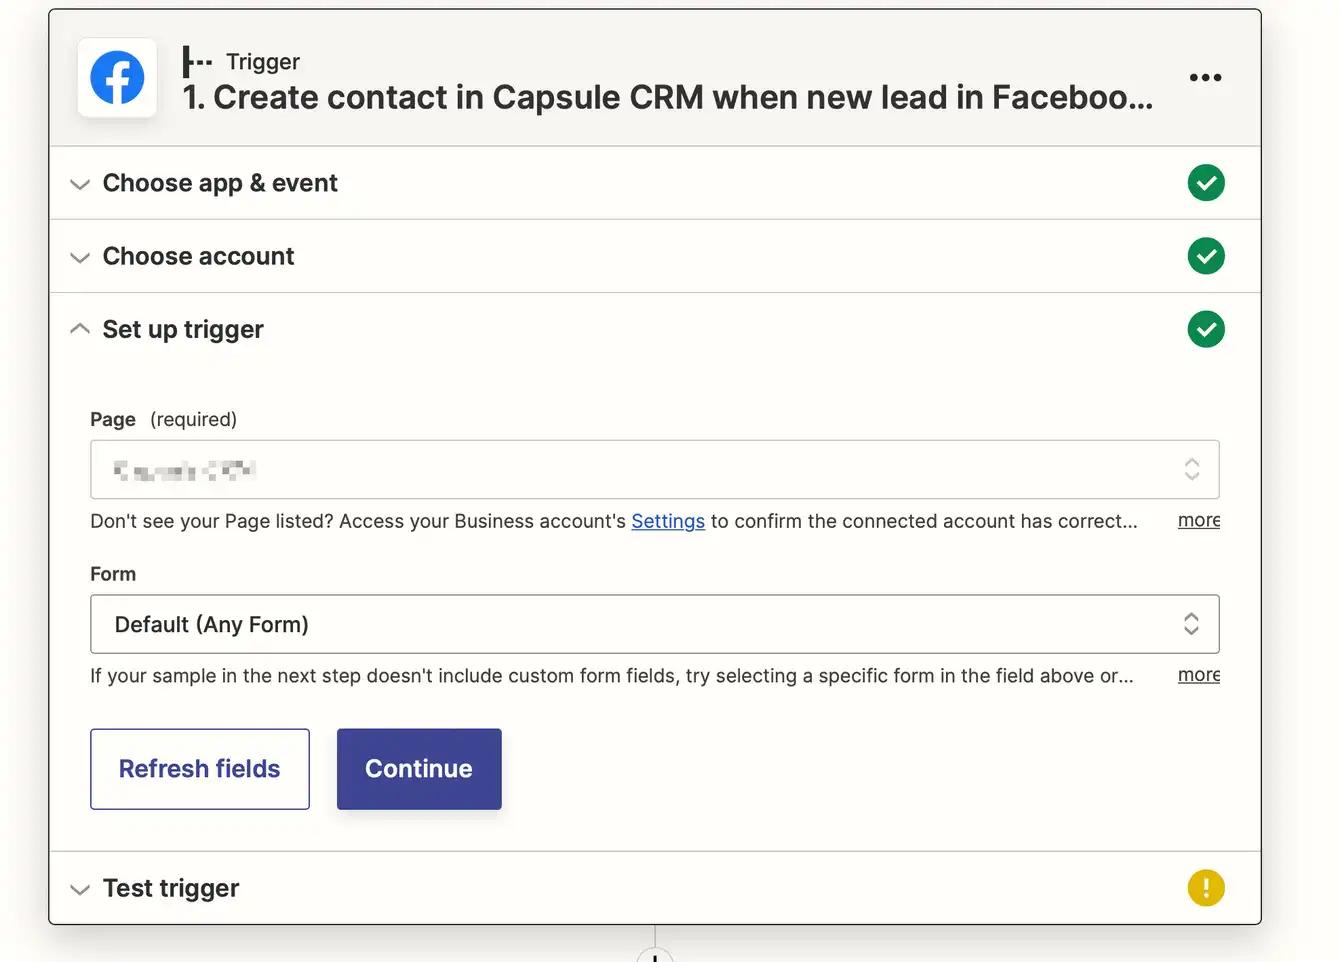
Next, select the specific page and form you'd like your Zap to trigger from. You can choose a specific form if you'd like, or you can choose to trigger the Zap when any form is filled out. Once you’ve done that click Continue.

Next, you’ll need to test that the trigger is working. Zapier will find a recent response to the form selected earlier. This will be used to set up the rest of the Zap. Click Test trigger.

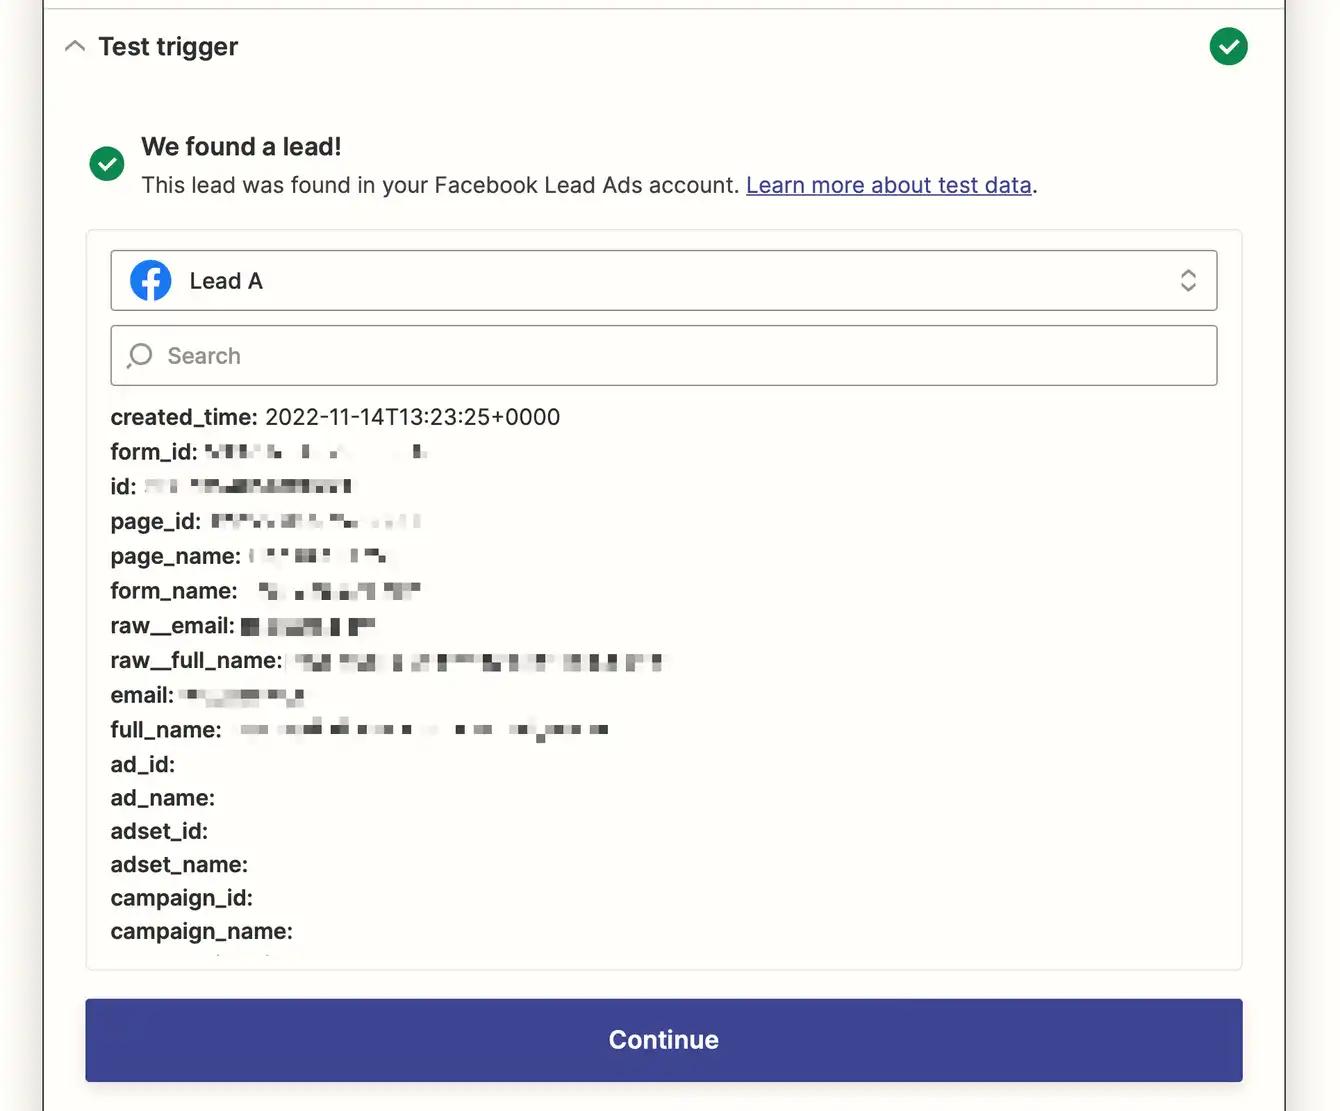
Once you see that Zapier has found a lead and it’s working properly you can click Continue.
Set up your Capsule action
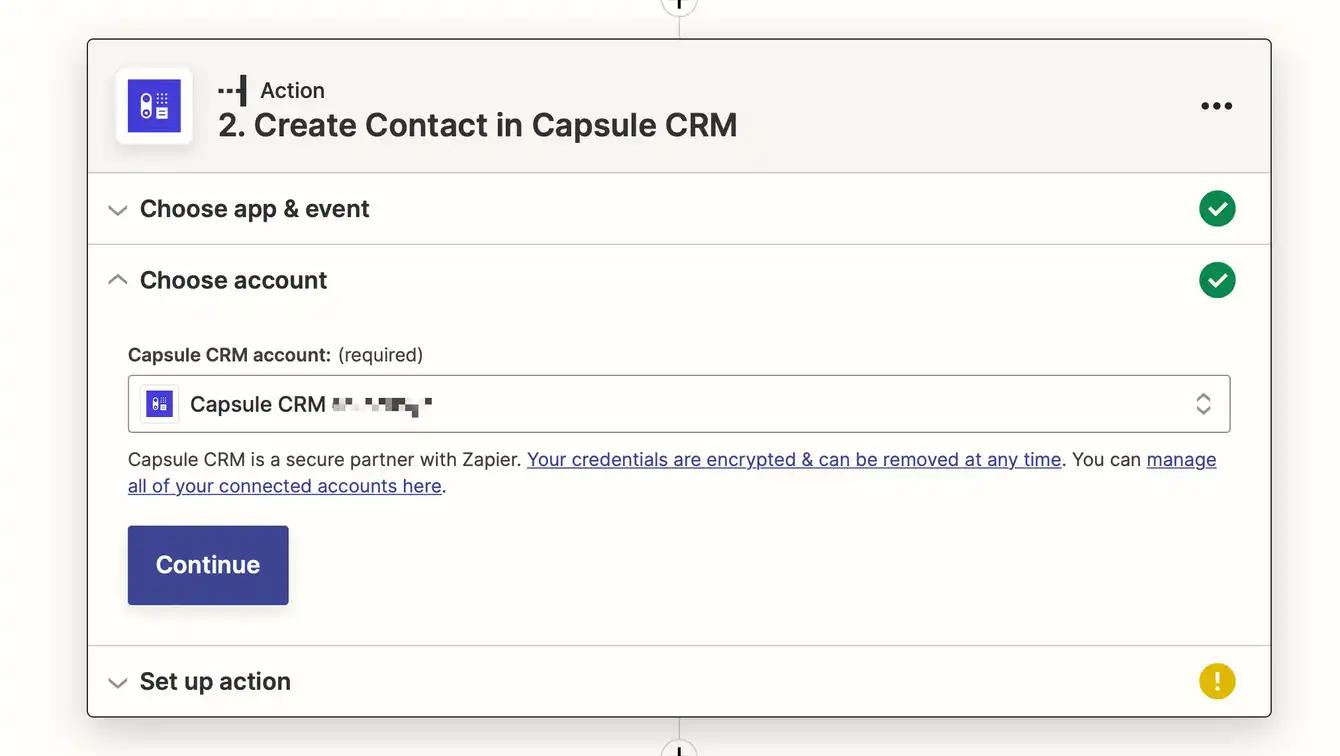
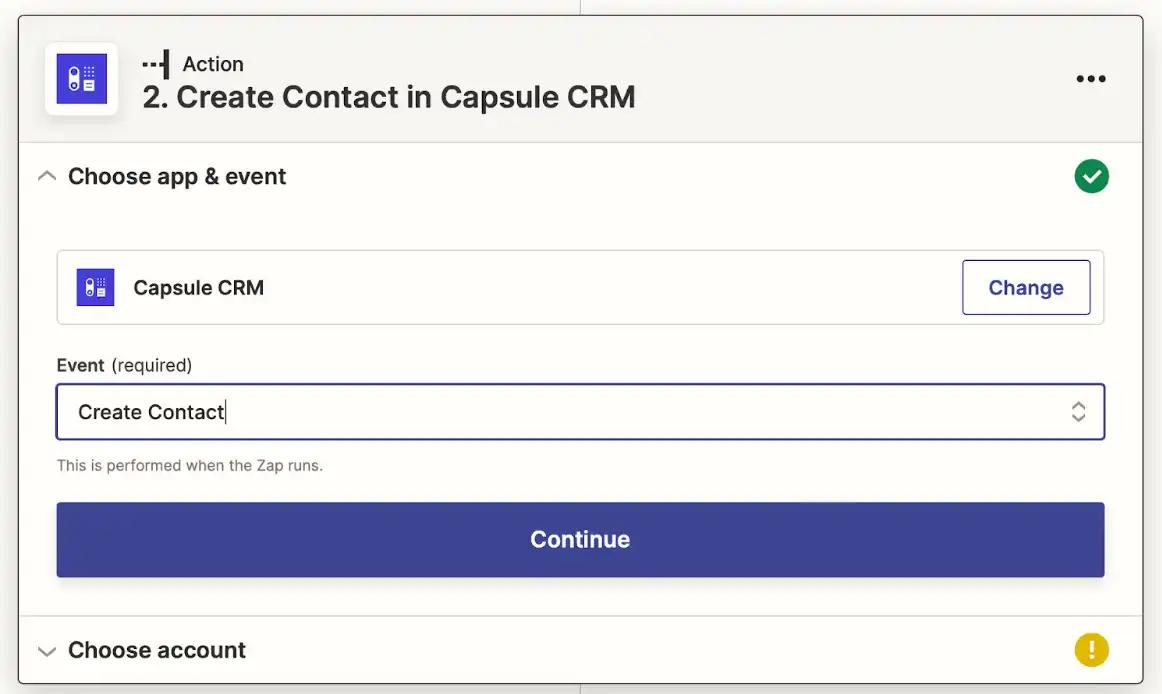
Now it’s time to set up the action (the event that the Zap will perform once it’s triggered). Select Capsule CRM as your action app and Create Contact as your action event. Click Continue.

You’ll then be asked to connect your Capsule account to Zapier if you haven’t already done this. Click on Choose an account. If you’ve connected Capsule and Zapier before you simply need to select your account. If not click + Connect a new account and click Continue.
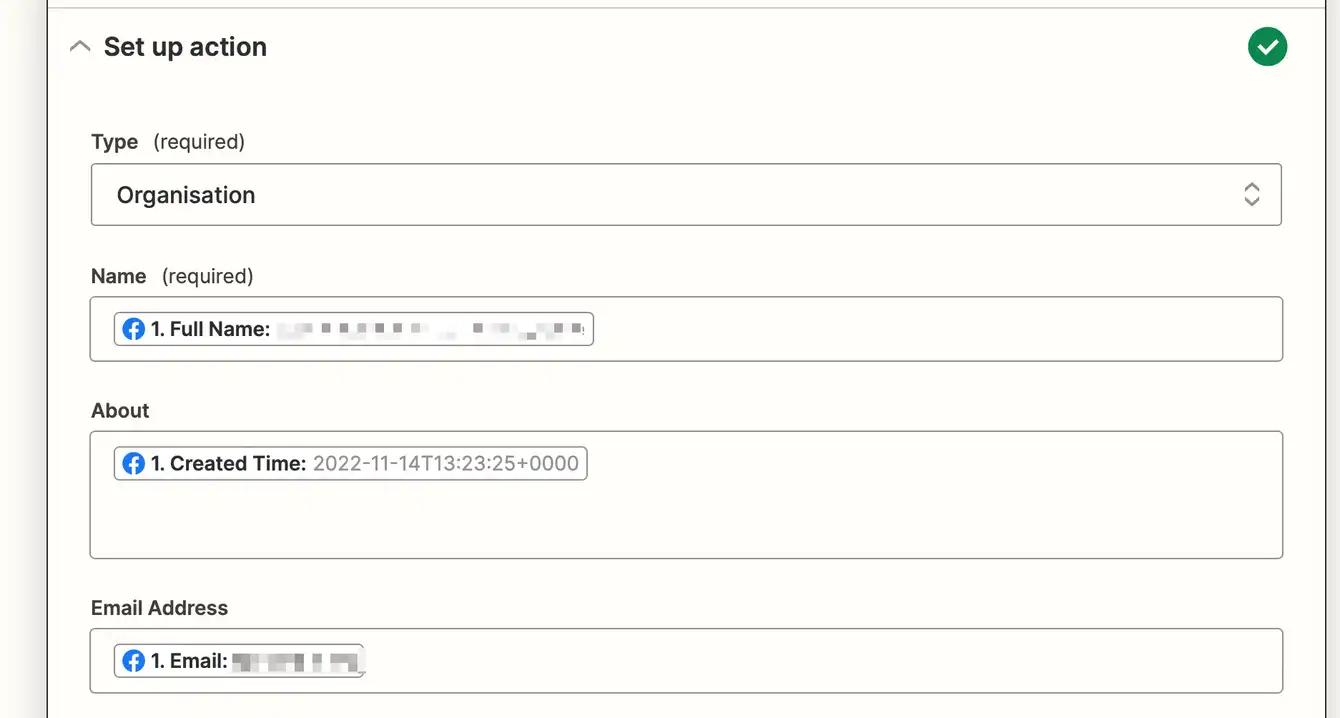
Now you need to set up the Capsule lead. You can pull in data from your Facebook Lead Ads form responses by clicking inside any empty field where you want the data to go and selecting an option from the Insert Data dropdown menu. This includes your lead's information, like first name, last name, email address, company etc. Once you’ve finished adding your fields click Continue.

You’ll also need to test this action. When you click Test & Review or Test & Continue, Zapier will create a record in Capsule depending on how you have customized the fields.

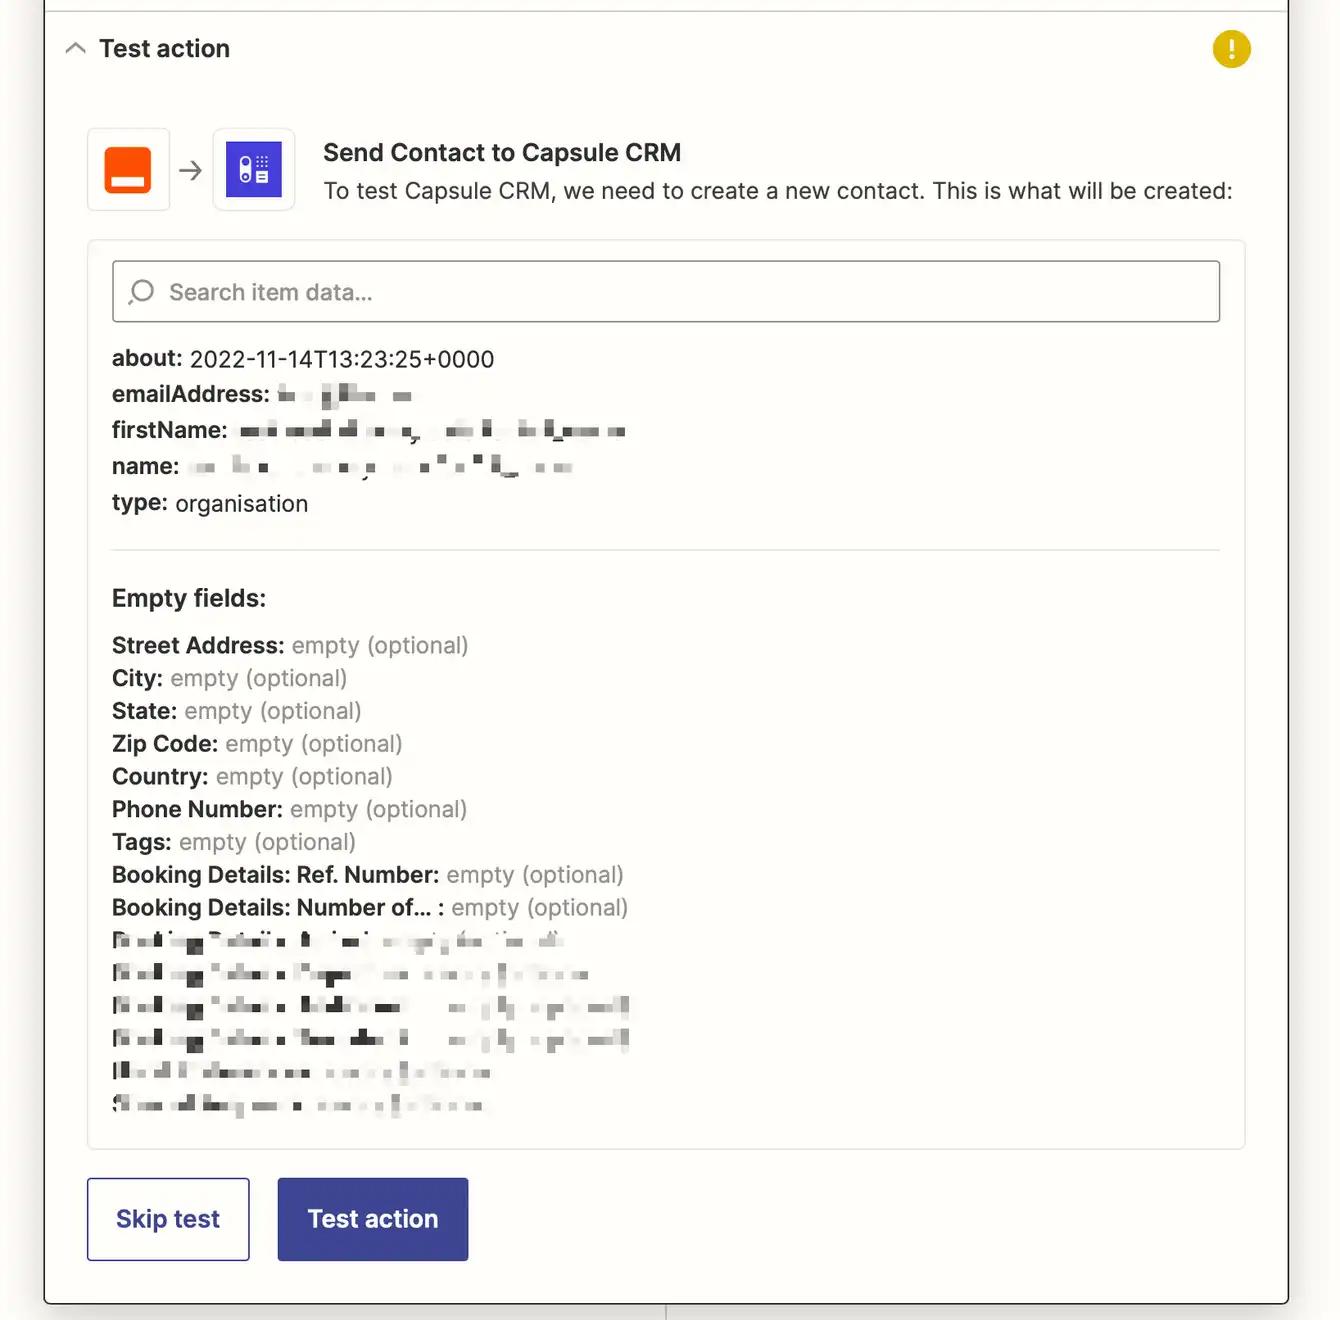
Is the test looking good? Then your Zap is now ready to use. If something doesn’t look quite right you might need to go back and tweak things until it looks right.
Speedier Sales Cycle
Now your Zap is set up, every lead that’s collected in Facebook will get added to Capsule automatically, straightaway. This also works if you want to use a Facebook Lead to add a Project, Task or Opportunity. Now you and your team can follow up quickly on any leads and hopefully close more deals. Plus, you can also trust that the data will be more accurate as you eliminate the need to add leads manually.


